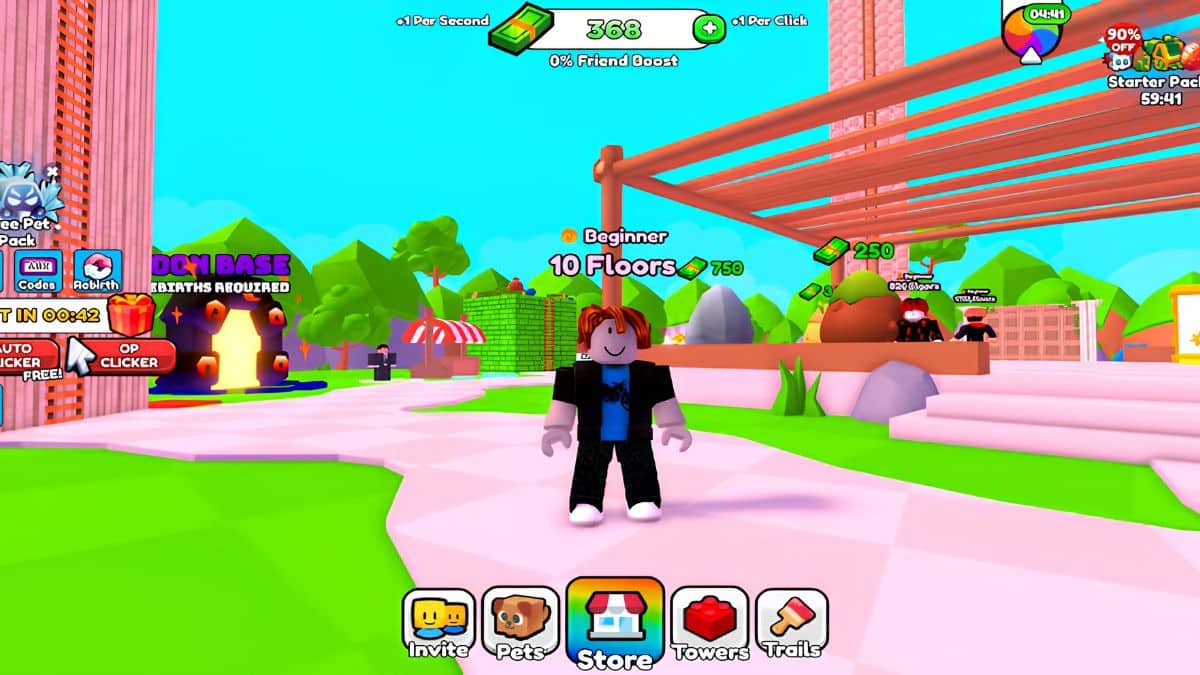
An auto clicker sends repeated mouse clicks on a set schedule so you don’t have to hold the button down yourself. On Roblox, that’s mostly useful in click-heavy simulator and idle games such as Clicking Simulator or Pet Simulator, where progress depends on raw click volume rather than skill. As of now, the tool landscape for this has shifted on one platform: the free method most guides still point Mac users toward no longer works reliably.
Before you install anything, know the stakes. Roblox runs Hyperion, its client-side anti-cheat system, and it actively watches for injected code, modified game files, and unauthorized processes running alongside the client. Third-party tools that inject into Roblox rather than just simulate mouse input can trigger a kick, explained in more detail in our Error 268 breakdown. Some of these tools can also destabilize the game outright, the same way overlay-heavy extensions and FPS unlockers make Roblox crash even when they aren’t malicious.
With that context set, here’s how to set up a genuinely free auto clicker on both Windows and Mac, plus what changed for Mac users this year.
Is an Auto Clicker Against Roblox’s Rules?
Roblox’s Community Standards prohibit “using or sharing exploits to help yourself or others gain an unfair advantage anywhere on the platform” and separately ban “using bots or other automation that is programmed to run disruptive tasks.” Neither line names auto clickers specifically.
There’s a real difference between a standalone desktop utility that sends clicks to whatever window has focus and a script that hooks into Roblox’s process, reads memory, or automates in-match decisions. The first is a basic input macro. The second is what Hyperion is built to catch, and it’s what leads to Error 268 kicks or bans. A simple clicker used in an idle game where clicking is the entire mechanic sits in a gray area rather than a clear violation, but it’s not officially sanctioned either. Roblox can still act on accounts it flags for automated behavior, regardless of intent.
How to Set Up a Free Auto Clicker on Windows
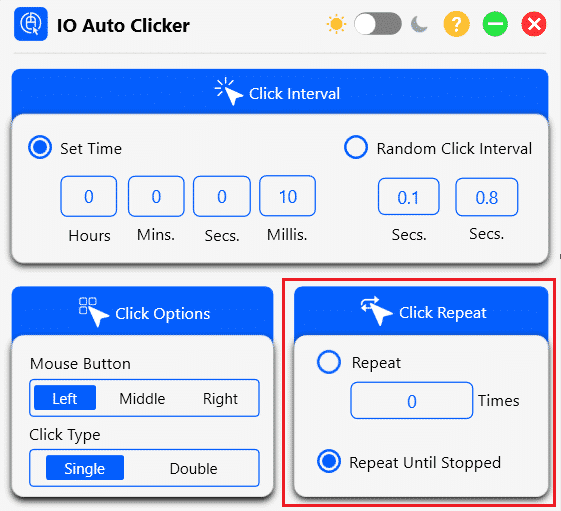
OP Auto Clicker remains the most established free option for Windows. It’s lightweight, has no trial limitations, and doesn’t require an account.
- Go to the official OP Auto Clicker site or its SourceForge listing and download the Windows build.
- Run the installer. It needs .NET Framework 4.5 or newer, which most Windows 10 and 11 systems already have.
- Open the app and set your Click Interval (milliseconds between clicks work best for high-frequency clicker games).
- Choose Click Type (single, double) and Mouse Button.
- Set a Hotkey to start and stop the clicker without switching windows.
- Launch Roblox in windowed or borderless mode so the game window stays clickable and focused, then trigger your hotkey.
Windows Defender or your antivirus may flag the app as “riskware.” That’s standard for any tool designed to simulate input. It’s flagged for what the category of software does, not because of embedded malware, as long as you downloaded it from the official source rather than a bundled installer from a third-party download site.
How to Set Up a Free Auto Clicker on Mac
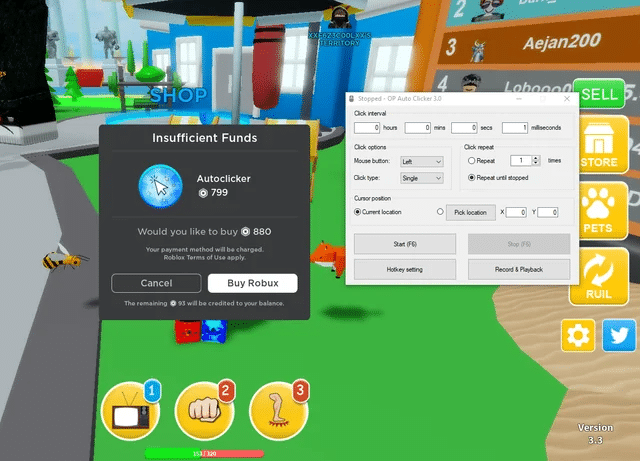
Most existing guides point Mac users to Automator’s “Watch Me Do” action as the free, built-in method. Right now, that advice is outdated. Multiple users on Apple’s own support community report that on macOS Tahoe 26, Watch Me Do workflows move the cursor to the right spot but the click itself doesn’t register, breaking recorded click sequences that worked fine on Sequoia. Apple hasn’t shipped a fix as of this writing.
Two methods still work.
Method 1: GS Auto Clicker (recommended)
GS Auto Clicker ships a native Mac build and stays free with no ads.
- Go to the GS Auto Clicker project page on SourceForge and download the Mac build (GSAutoClicker-mac.zip).
- Unzip it and move the app to your Applications folder.
- Since it isn’t notarized by Apple, your first launch will be blocked. Open System Settings > Privacy & Security, scroll down, and click Open Anyway next to the GS Auto Clicker warning.
- Go to System Settings > Privacy & Security > Accessibility and enable GS Auto Clicker. Without this, it can’t send clicks to other apps.
- Set your click interval and hotkey in the app, switch to Roblox, and start it with your hotkey.
Method 2: AppleScript, no download required
If you’d rather not install anything, macOS can do this natively through Script Editor.
- Open Script Editor from Applications > Utilities.
- Write a script like this, replacing the coordinates with your target on screen (use Shift+Command+4 to check pixel position without taking a screenshot):
repeat 50 times
    tell application "System Events"
        click at {650, 730}
    end tell
    delay 1
end repeat- Run the script. macOS will prompt you to grant Script Editor Accessibility permission under System Settings > Privacy & Security > Accessibility. Approve it, then run the script again.
- Adjust the
repeatcount for total clicks and thedelayvalue for seconds between clicks.
This method has no hotkey to stop it early. Let the repeat count finish, or force-quit Script Editor if you need to stop sooner.
Safety Checklist Before You Install Any Auto Clicker
Auto clicker downloads are a common vector for bundled adware and, less often, credential-stealing malware, the same risk pattern covered in our Roblox Chrome extension safety guide. Before installing:
- Download only from the developer’s official site or a known project host like SourceForge, never a third-party “download hub” with its own installer wrapper.
- Check what permissions the app requests. A clicker only needs Accessibility (Mac) or standard input simulation (Windows), nothing more.
- Look at how recently the project was updated. Abandoned tools are more likely to have unpatched security issues or stop working with the current OS.
- Skip anything requiring a license key, activation, or sign-in to use basic clicking. Legitimate free clickers don’t need an account.
Final Thoughts
Hyperion has gotten more aggressive at flagging unusual client behavior over the past year, and that trend isn’t reversing. Treat an auto clicker as a convenience tool for idle-game grinding, not a workaround for anything competitive, and keep it limited to games where clicking speed is the entire point rather than a shortcut around actual gameplay.
Roblox’s Community Standards ban disruptive automation and exploits but don’t name auto clickers specifically. A basic desktop macro carries lower risk than a tool that injects into Roblox’s process, but neither is officially endorsed.
Most free tools, including OP Auto Clicker and GS Auto Clicker, can be set well below 10 milliseconds per click, translating to 50 to 100+ clicks per second, though your mouse driver and system performance set the practical ceiling.
No. The AppleScript method through Script Editor works without installing anything, though GS Auto Clicker is easier to configure and adjust on the fly.
It can, especially if the tool injects code or the game you’re using it in has active anti-cheat monitoring for that behavior. Idle clicker games where the mechanic is designed around repeated clicking carry lower practical risk than competitive titles.
Simulator and idle games built around click-to-progress mechanics, like Clicking Simulator, are the closest thing to an intended use case. Competitive or skill-based games are a different risk category entirely.
Level Up Your Gaming: