
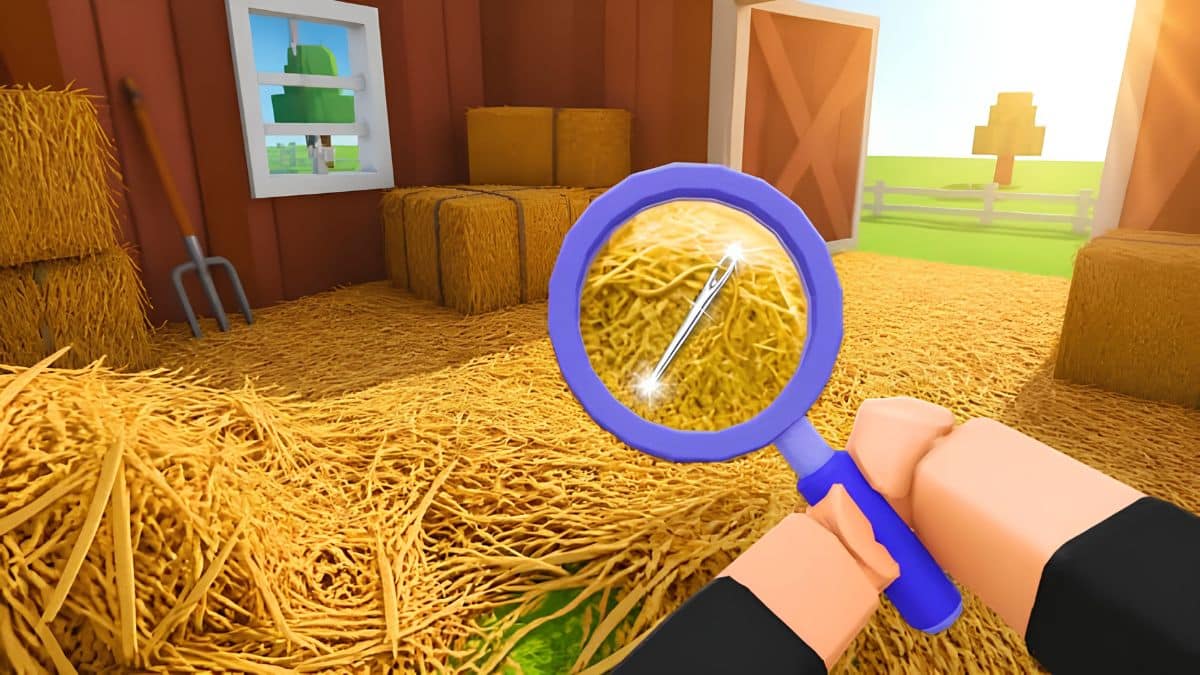
Search For The Needle added its class system on September 3, 2026, just over a week after the Roblox game’s August 22 launch. Before that update, everyone dug through the same million-hay pile with the same bare-bones tools. Now eight classes change how fast you clear it, and since Gems are the only way to roll one, picking wrong costs real progress.
Each class unlocks through a random 40-Gem spin at the Classes booth, not a menu you can pick from directly. That randomness raises the stakes: you might spend hundreds of Gems chasing a specific class only to land duplicates of one you already have. Knowing which classes actually justify a re-roll, and which ones you can happily skip, saves Gems for spins that matter.
Below is a full breakdown of all eight classes, how they rank, and why. The ranking draws on documented perk values from the game’s Classes menu, not vibes, and it flags the one call where community sources disagree.
How Search For The Needle Tier List Is Ranked
Three factors decide a class’s tier here: how much the perk actually speeds up the hay-to-money loop, whether it scales with longer sessions instead of losing value, and whether it stacks with or gets replaced by other systems (tools, upgrades) as you progress.
A flat percentage boost that stops mattering once you buy a better tool ranks lower than a perk that keeps paying off.
S Tier: Worth Re-Rolling For
| Class | Why it’s S tier |
|---|---|
| Ultimate Farmer | Stacks every other class’s passive bonus at once, plus an occasional Golden Harvest bonus event |
| Drone Specialist | Gives a free automated drone with 30% faster flight and 40% more carrying capacity, with occasional multi-drone swarms |
- Ultimate Farmer is the clearest S-tier pick and every source agrees on it. It combines the Demolitionist’s blast bonus, the Forkmaster’s swing bonus, the Pack Mule’s carry bonus, and the Hay Merchant’s sell bonus into one class, then adds Golden Harvest on top. There’s no real downside once you land it.
- Drone Specialist is the one call where this list breaks from most other rankings, which usually slot it into A tier. The reasoning here is automation. A drone keeps collecting hay whether or not you’re actively swinging a pitchfork, which matters far more over a long session than a flat percentage boost that only applies while you’re manually working. Community sources haven’t published exact swarm-trigger odds, so treat that part as a bonus rather than something to plan around.
A Tier: Strong, Build-Defining Picks
| Class | Why it’s A tier |
|---|---|
| Demolitionist | 20% larger dynamite blast radius, plus a 10% chance for TNT to split into three mini charges |
| Forkmaster | 25% more hay per pitchfork swing and 25% cheaper upgrade costs |
- Demolitionist clears haystacks fastest of any explosive-focused build. The wider blast radius means fewer charges needed per run, and the split chance occasionally turns one bomb into three, which compounds well on the leaderboard-focused solo runs the game’s speedrun crowd favors.
- Forkmaster rewards players who stick with manual tools rather than automating early. The swing bonus applies to a mechanic you’ll use constantly, and the cheaper upgrades mean your Gem and money spending stretches further across the whole run.
B Tier: Situational
| Class | Why it’s B tier |
|---|---|
| Pack Mule | 50% increased carry capacity |
| Hay Merchant | 20% higher hay sale value |
| Prospector | 50% higher diamond generation frequency |
- Pack Mule looks strong on paper, but the bonus loses relevance once tools and drones start moving hay for you instead of your own inventory slots. It’s a solid pick early, weaker late.
- Hay Merchant never speeds up collection. It just means each sale nets more money, which matters for upgrade rushes but does nothing for leaderboard times.
- Prospector sits lower here than in some other rankings. Diamonds run on a separate track from the core hay loop, so the frequency bonus doesn’t touch the thing most players are actually optimizing: how fast the haystack clears.
D Tier: Default Only
Starter is what you begin with and carries no bonuses at all. Swap out of it the moment your first spin lands on anything else.
How to Unlock Classes
Every class besides Starter comes from a 40-Gem spin at the Classes booth. Each spin pulls one class at random from the pool, so there’s no way to target a specific one directly. Once a class unlocks, it stays in your list permanently, and switching between unlocked classes from the Classes menu costs nothing further.
The game hasn’t published official drop-rate odds for the spin pool, so expect variance, and don’t assume every class has equal weight until Epic-style official confirmation shows up.
Final Thoughts
Classes are still new as of this writing, barely a week old at the time this list went up, and Search For The Needle hasn’t shipped a public balance patch yet.
Expect some perk numbers, and possibly this exact tier order, to shift once the developer addresses how strong Drone Specialist and Ultimate Farmer are compared to everything else.
Ultimate Farmer, since it stacks every other class’s bonus into one package with no real tradeoff.
Eight total, including the default Starter class.
Spend 40 Gems on a spin at the Classes booth. Each spin pulls a random class from the pool, and unlocked classes stay unlocked for good.
Only Prospector does, with a 50% higher diamond generation frequency. Every other class’s bonus applies to hay collection, carrying, selling, or explosives instead.
Yes. Tech Nerdiness covers class and unit rankings for other Roblox titles too, including the Anime Origins tier list.