If you’ve ever wanted to automate your daily tasks, connect different apps, or even experiment with AI agents without paying for expensive tools, n8n is one of the best ways to start. The good news is that you don’t have to spend a dime to try it. Instead of relying on the cloud plan, which costs at least $20 per month, you can install n8n on your own computer for free. Whether you’re on a Mac or Windows PC, the setup is straightforward once you know the right steps.
Why Install n8n Locally?
Running n8n locally comes with a few big advantages. Your workflows and data stay private on your own computer. There are no restrictions on the number of workflows or executions. It’s completely free and perfect for learning or building personal projects. And most importantly, you get full control, whether that’s adding custom nodes, debugging easily, or experimenting with AI-powered workflows.
How to Install n8n on Mac (Using Homebrew and npm)
On macOS, the easiest way to install n8n is through Homebrew and npm.
Step 1: Install Homebrew
First, you’ll need Homebrew. It’s a package manager that makes installing software through the Terminal simple and hassle-free.
1. Open the Terminal app on your Mac. You can do it through Spotlight.
2. Copy and paste this command into Terminal, then press Enter:
/bin/bash -c "$(curl -fsSL https://raw.githubusercontent.com/Homebrew/install/HEAD/install.sh)"3. Wait patiently while Homebrew installs. This can take a few minutes. Once done, you’ll be able to install other tools using just the brew command.
Step 2: Install Node.js
n8n is built on Node.js, so you need it installed before you can run n8n.
1. In Terminal, type: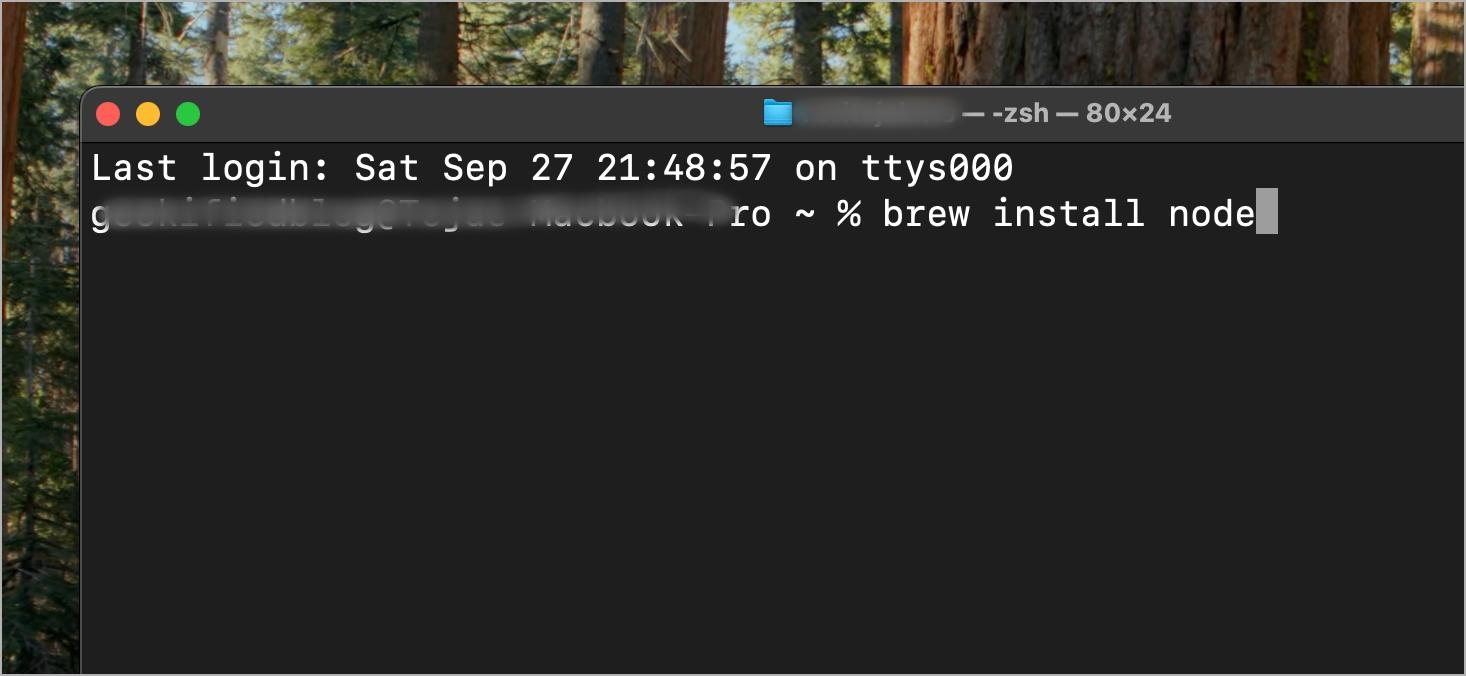
brew install node2. Once the installation finishes, check if Node.js and npm are working:
node -v
npm -v
3. If both commands return version numbers, you’re ready to move on.
Step 3: Create a Folder for n8n and Install
Keeping n8n files in one folder makes it easier to manage and keeps things tidy.
1. In Terminal, type: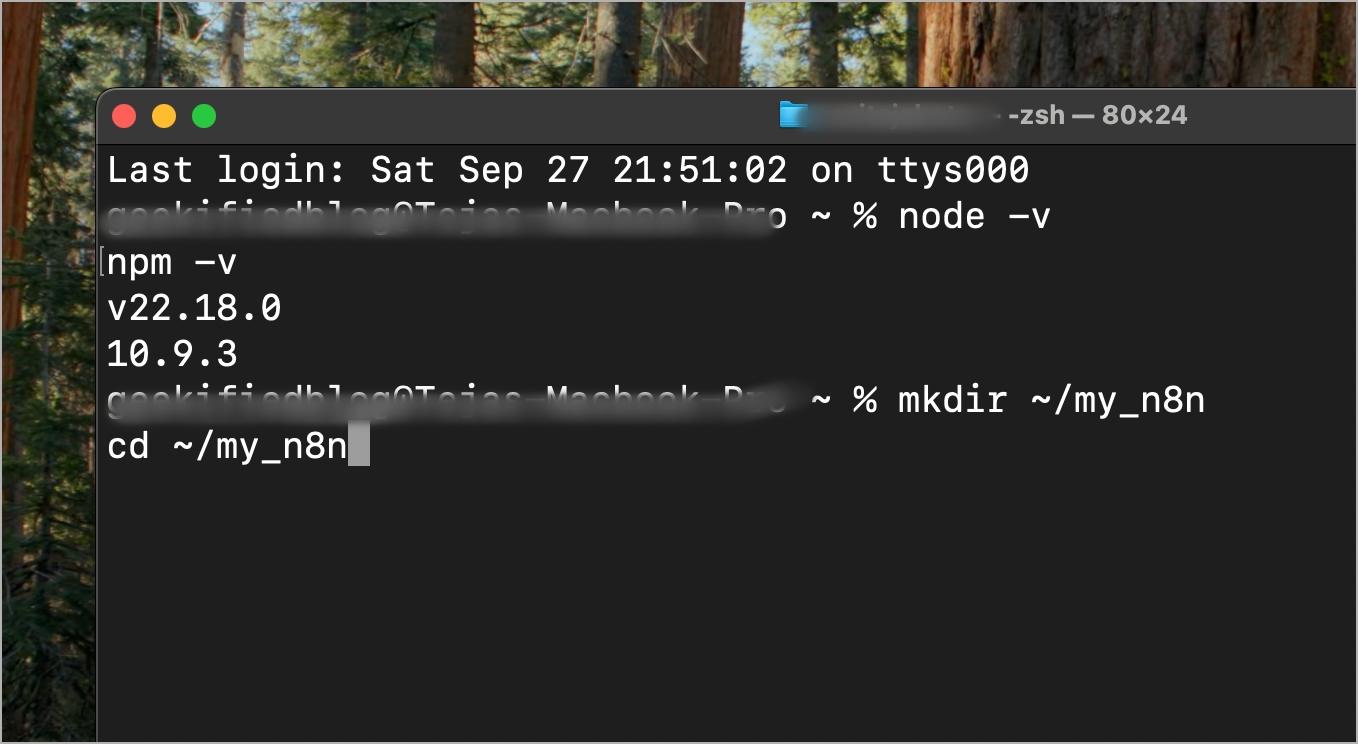
mkdir ~/my_n8n
cd ~/my_n8n
This creates a new folder called my_n8n and moves you inside it.
2. Initialize the folder as a project and install n8n: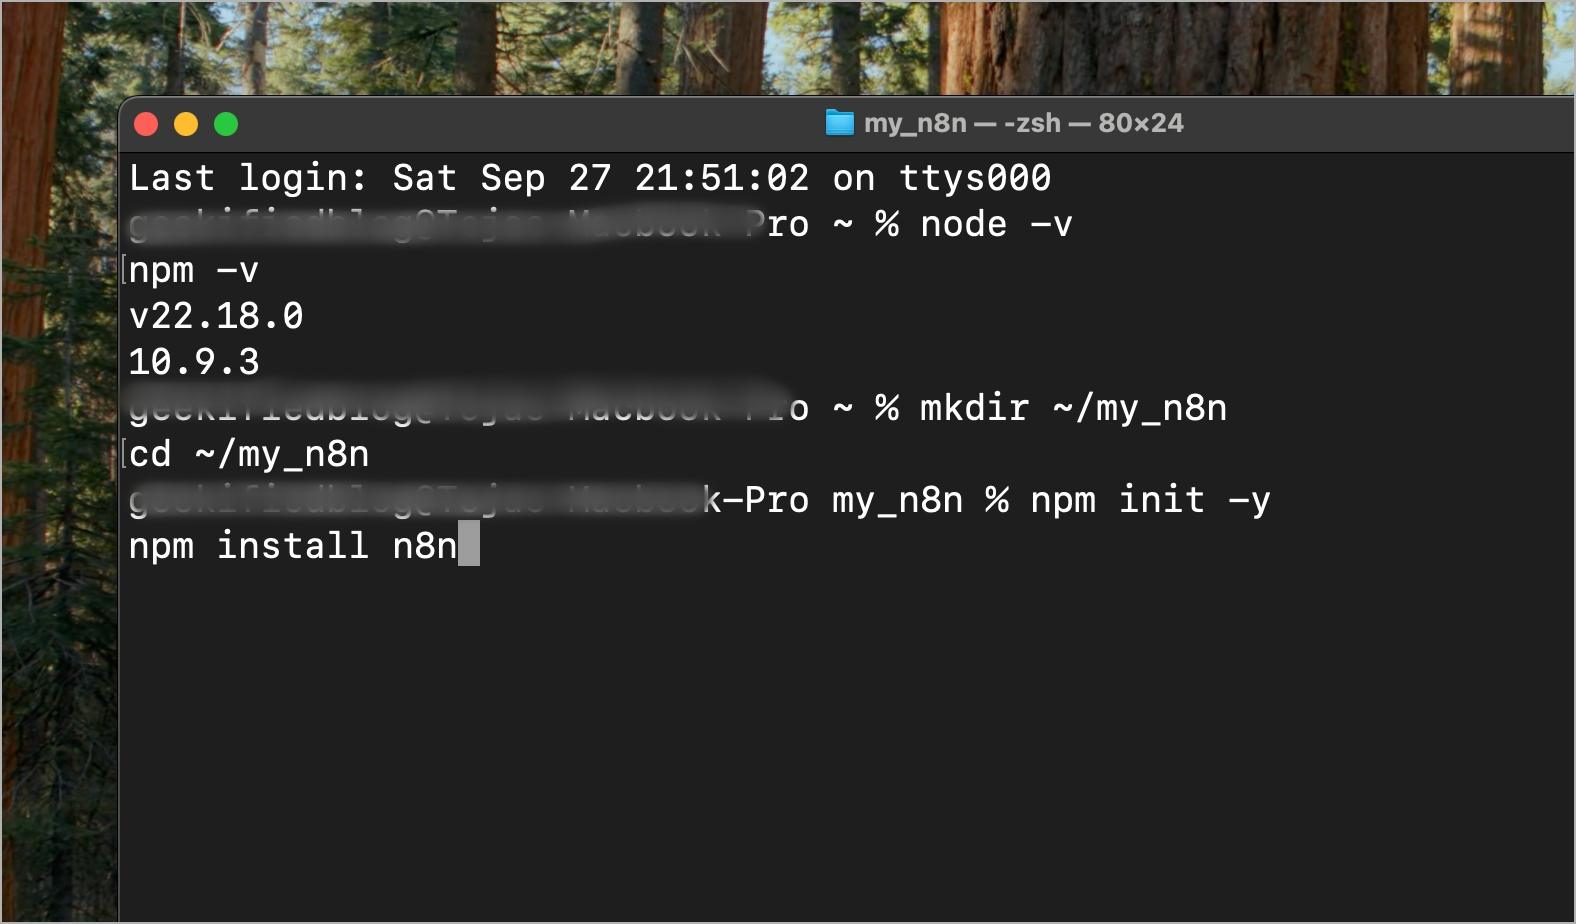
npm init -y
npm install n8n
This sets up a Node.js project and downloads n8n into it. If you have any issues with the install, use the npm audit fix --force command.
Step 4: Update package.json
Editing this file makes it easy to start n8n with one simple command instead of typing a long one.
1. Open the file named package.json inside your my_n8n folder.
nano package.json2. Find the section called scripts and replace it with this:
"scripts": {
  "start": "n8n"
},
3. Save and close the file. You can do that by pressing control + x and then y.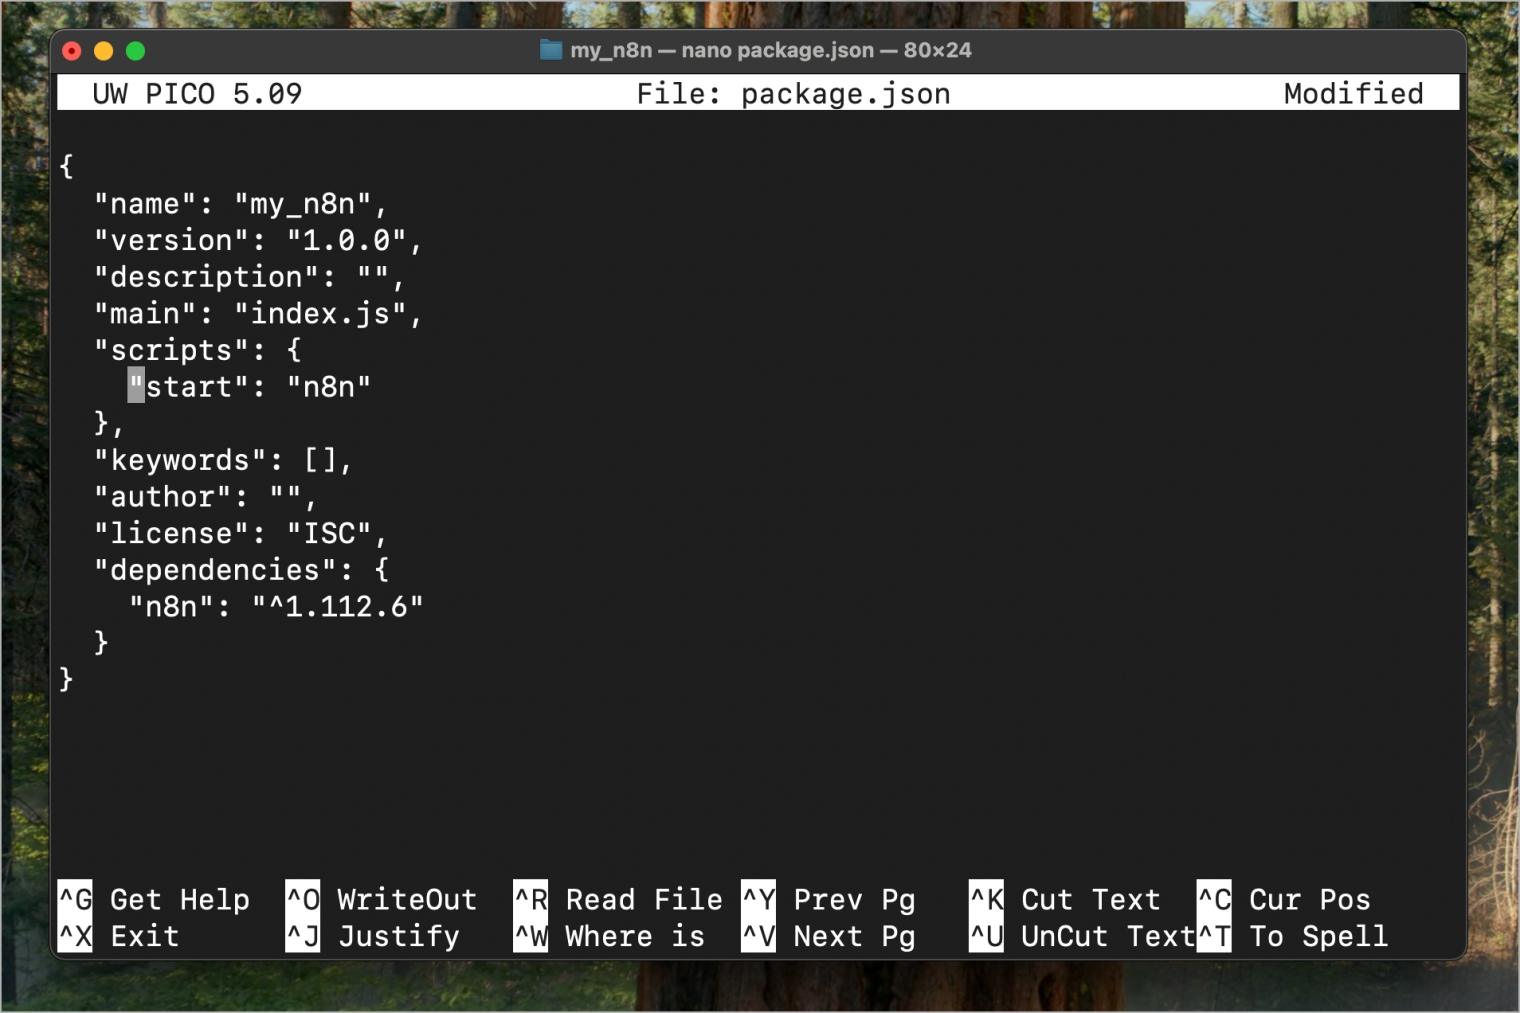
Step 5: Run n8n
Now you can launch n8n and start using it.
1. In Terminal, type: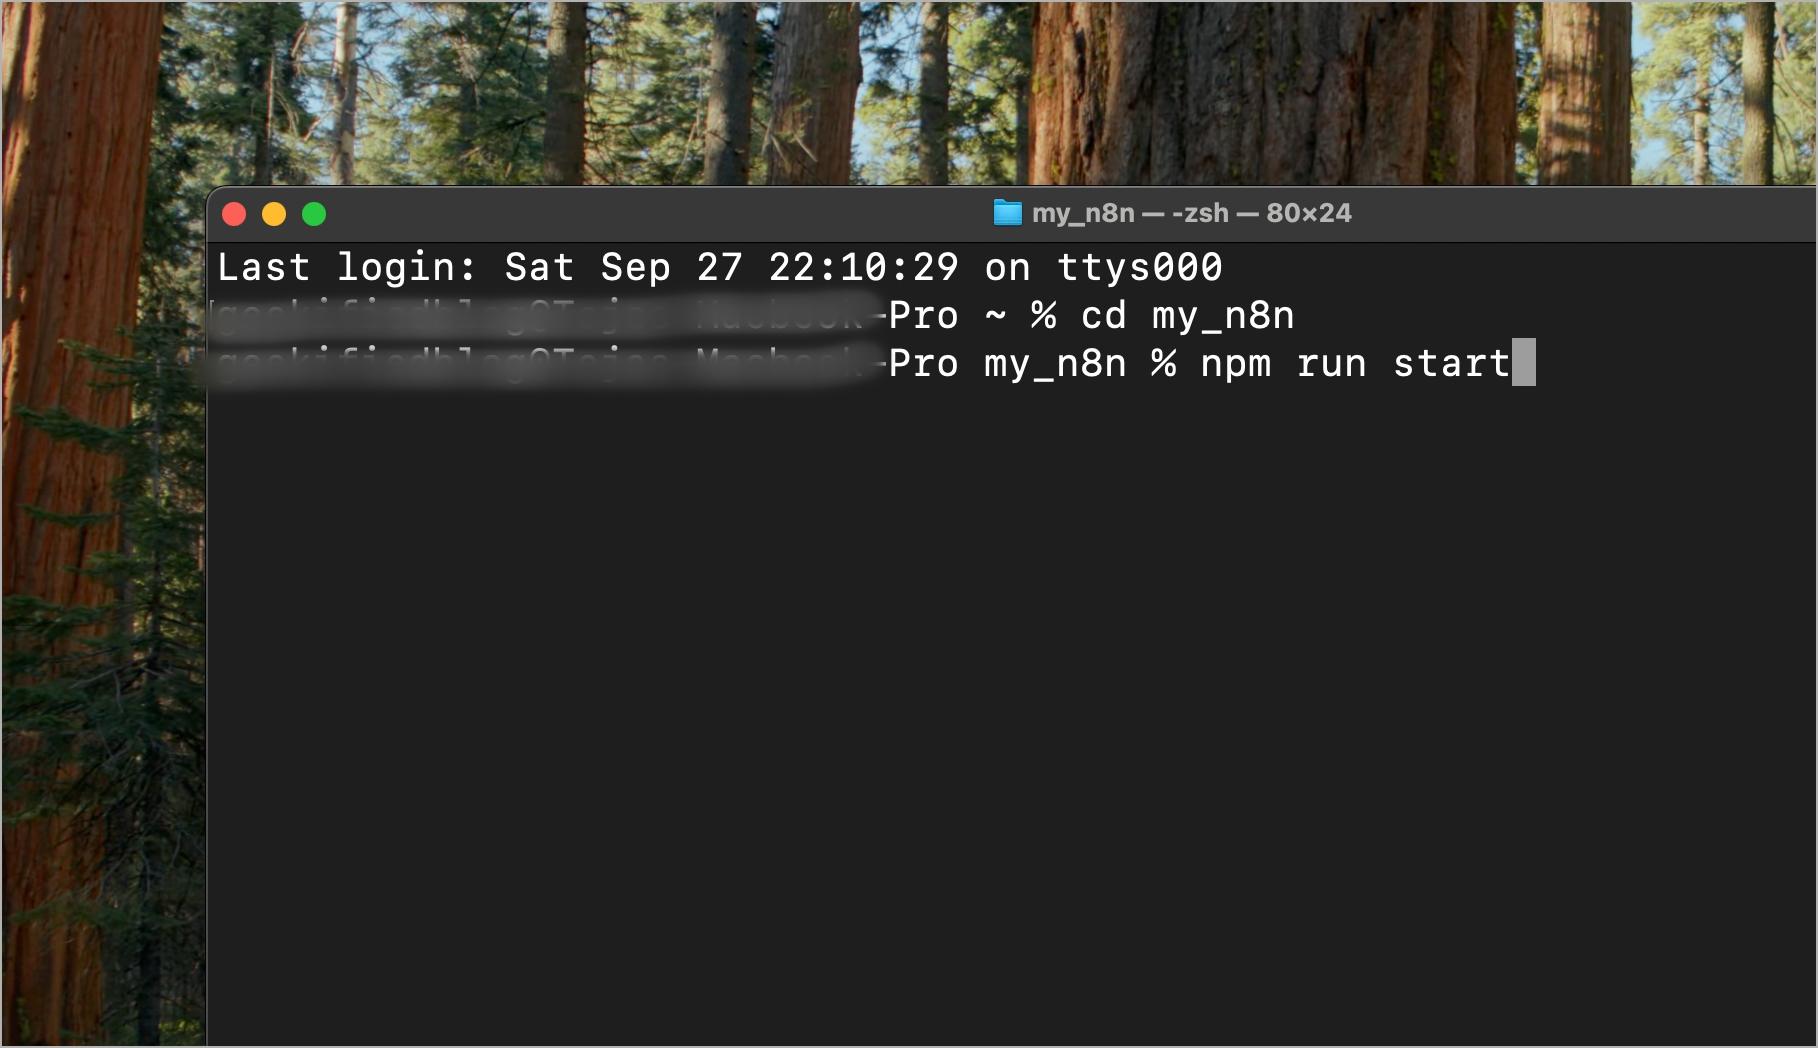
npm run start2. Wait for the Terminal to show that n8n is ready.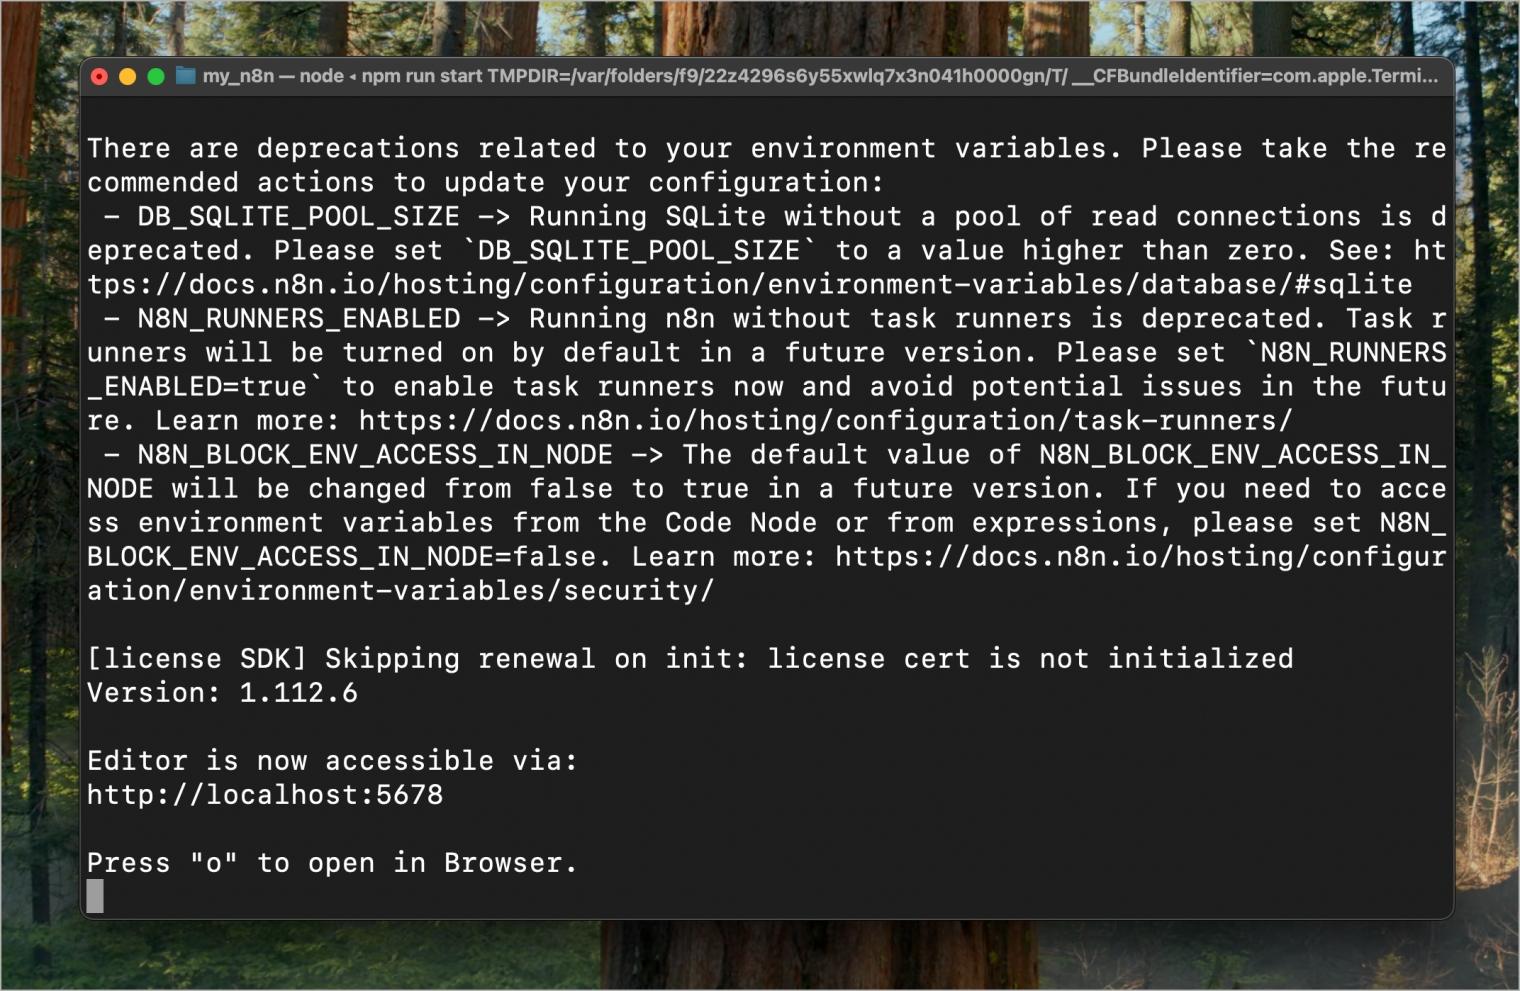
3. Open your browser and go to http://localhost:5678.
4. You should now see the n8n login/setup page.

Leave Terminal open; otherwise, n8n will shut down when you close it.
Also Read: Perplexity vs ChatGPT: Which AI Tool Is Better?
How to Install n8n on Windows (Using Node.js and npm)
Windows users also need Node.js first. The setup is slightly different but still simple. Once Node.js is installed, you can use npm to install n8n.
Step 1: Install Node.js
Before installing n8n, you need Node.js. Node.js is the software that allows JavaScript to run outside the browser, and it comes bundled with npm, the package manager that installs n8n.
1. Go to nodejs.org and download the latest LTS version. The LTS version is more stable and recommended for most users.
2. When choosing between versions, select x64 if your PC is modern. Only choose 32-bit if you have a very old computer.
3. During installation, make sure you check these boxes:
- Add to PATH: This lets you run Node.js commands from anywhere in Command Prompt or PowerShell.
- Automatically install required tools: This ensures Python and build tools are installed, which npm may need to run properly.
4. Once the installation is done, confirm it worked. Open Command Prompt and type:
node -v
npm -v
If both commands show version numbers, Node.js and npm are installed correctly.
Step 2: Install n8n Globally
Installing globally means n8n can be run from anywhere on your system, not just from one folder.
1. Open Command Prompt or PowerShell.
2. Run the following command to install n8n:
npm install -g n8n3. After installation finishes, start n8n with:
n8n start4. Open your browser and go to http://localhost:5678. You should see the n8n interface.
Step 3: Optional Local Project Setup
If you prefer to keep everything in a dedicated folder (instead of installing globally), you can install n8n locally inside a project folder.
1. Create a folder and move into it:
mkdir my_n8n
cd my_n8n
2. Initialize the folder and install n8n inside it:
npm init -y
npm install n8n
3. To start n8n from this folder, type:
npx n8nInstall n8n with Docker (Mac, Windows, Linux)
Docker is a tool that allows you to run applications in containers. You can think of a container as a lightweight, isolated box that holds everything an app needs to run. This way, the app doesn’t interfere with the rest of your computer. Using Docker for n8n is a great choice if you don’t want to install Node.js manually or if you want to keep n8n separate and easy to manage.
Step 1: Install Docker
Before running n8n with Docker, make sure Docker itself is installed.
1. Windows → Download and install Docker Desktop. During setup, enable WSL2, which is required to run Docker on Windows.
2. macOS → If you have Homebrew, open Terminal and run:
brew install --cask docker3. Linux → Open your Terminal and run these commands one by one:
sudo apt update && sudo apt upgrade -y
sudo apt install docker.io -y
sudo systemctl enable --now docker
4. To confirm Docker is installed correctly, type: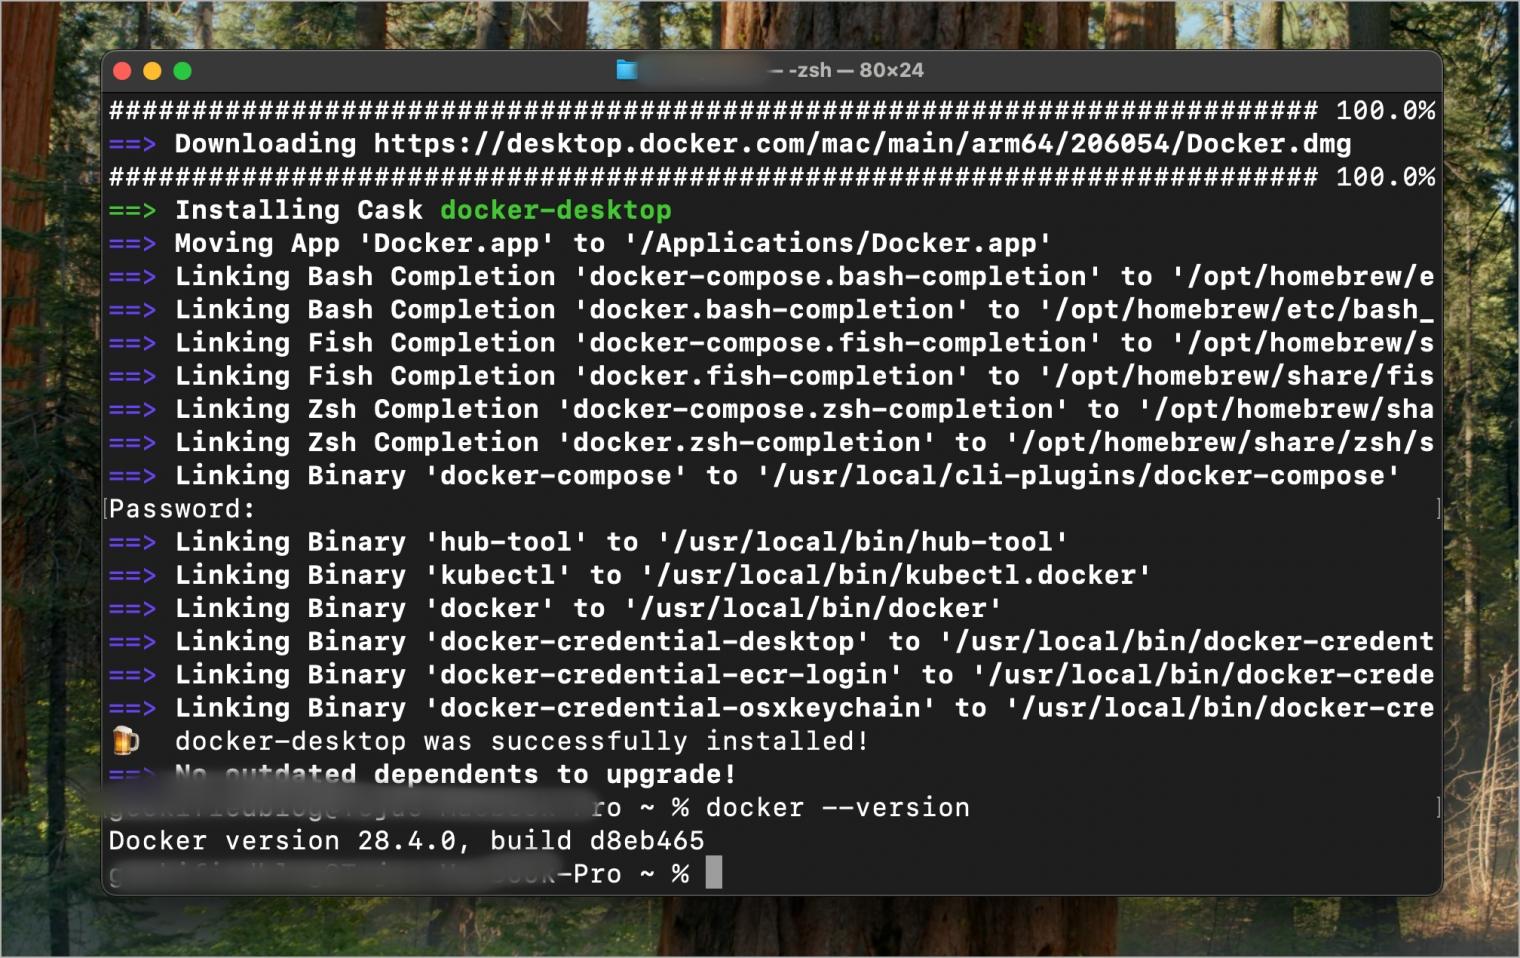
docker --versionIf you see a version number, you’re ready to go.
Step 2: Run n8n Container
Now let’s start n8n inside a Docker container. We’ll attach a volume (a storage folder) so your workflows and settings don’t get lost when the container stops.
docker run -d --name n8n -p 5678:5678 -v ~/.n8n:/home/node/.n8n n8nio/n8nHere’s what the parts mean:
-d→ Runs the container in the background.--name n8n→ Gives the container a name so you can manage it easily.-p 5678:5678→ Makes n8n available in your browser at http://localhost:5678.-v ~/.n8n:/home/node/.n8n→ Saves your workflows and data to your computer so they don’t disappear when Docker is restarted.
Step 3: Secure Access (Optional)
By default, anyone on your local network could open your n8n if they know the port. It’s better to protect it with a username and password.
1. Create a file named .env in a folder where you want to keep your Docker settings.
2. Add the following lines to the file (replace with your own username and password):
N8N_BASIC_AUTH_ACTIVE=true
N8N_BASIC_AUTH_USER=admin
N8N_BASIC_AUTH_PASSWORD=yourpassword
3. Run n8n again using this file:
docker run -d --name n8n --env-file ./.n8n.env -p 5678:5678 -v ~/.n8n:/home/node/.n8n n8nio/n8nStep 4: Access n8n
1. Open your browser and go to http://localhost:5678.
2. You should see the n8n interface ready to use.
Step 5: Manage Container
Here are the basic commands to control n8n:
- To stop n8n:
docker stop n8n- To start n8n again after stopping:
docker start n8n- To remove the container completely (your workflows will still be saved in the volume):
docker rm n8nFinal Thoughts
Installing n8n locally is one of the easiest and most flexible ways to explore workflow automation. If you’re on a Mac, using Homebrew and npm keeps the process quick and straightforward. On Windows, the most important step is getting Node.js installed correctly, after which you can set up n8n either globally or inside a dedicated folder. If you’d rather avoid manual installs, Docker gives you a platform‑independent option that’s simple to run and manage.
Once you’ve got n8n running, you’ll have your own private automation engine on your computer. From connecting different apps to scheduling workflows or even experimenting with AI agents, the possibilities are wide open. It’s your personal sandbox to try ideas, save time, and see what automation can really do for you.
You might also like:

