The digital divide between your pocket and your desk is rapidly evaporating. If you live on a Windows laptop but your favorite apps live on Android, running them on your PC is basically a shortcut around friction. It is also one of those quality-of-life upgrades that sounds nerdy until you try it for a week.
Why Run Android Apps on Windows?
Running Android apps on a Windows PC used to be a neat party trick. However, if you’re doing so, it will most likely be about reducing friction in your day in the following ways:
- You want your phone apps on a bigger screen. Messaging apps, note apps, and even social media apps can be easier to navigate with a keyboard, mouse, and a proper monitor.
- You are trying to stay in one workspace. If your job lives on Windows but your life lives on Android, switching devices all day gets old fast. Phone Link can bring the stuff you check constantly right into your desktop flow.
- You want mobile-only utilities on a PC. Some services still ship features to Android first. If an app does not have a good Windows version, Android can be a decent workaround.
- Gaming is an obvious one. Some people just want Clash of whatever on a 27-inch display, with real keys and a mouse, and fewer battery guilt trips.
- Resource management. Your PC has vastly superior thermal management and battery life compared to a phone. Offloading heavy multitasking or long gaming sessions to your desktop saves your phone’s battery health for when you actually leave the house.
One important reality check, though. Windows Subsystem for Android is no longer the “default” answer. Microsoft ended support for WSA and any applications that depend on it, including the Amazon Appstore on Windows, as of March 5, 2025. So, in 2026, the practical options are Phone Link, emulators, or Google Play Games on PC.
How to Run Android Apps on Your PC (Top 2026 Methods)
Microsoft may have officially pulled the plug on the Windows Subsystem for Android, but the ecosystem barely skipped a beat. The alternatives that emerged in its wake have had time to settle, mature, and become stable options you can actually use.
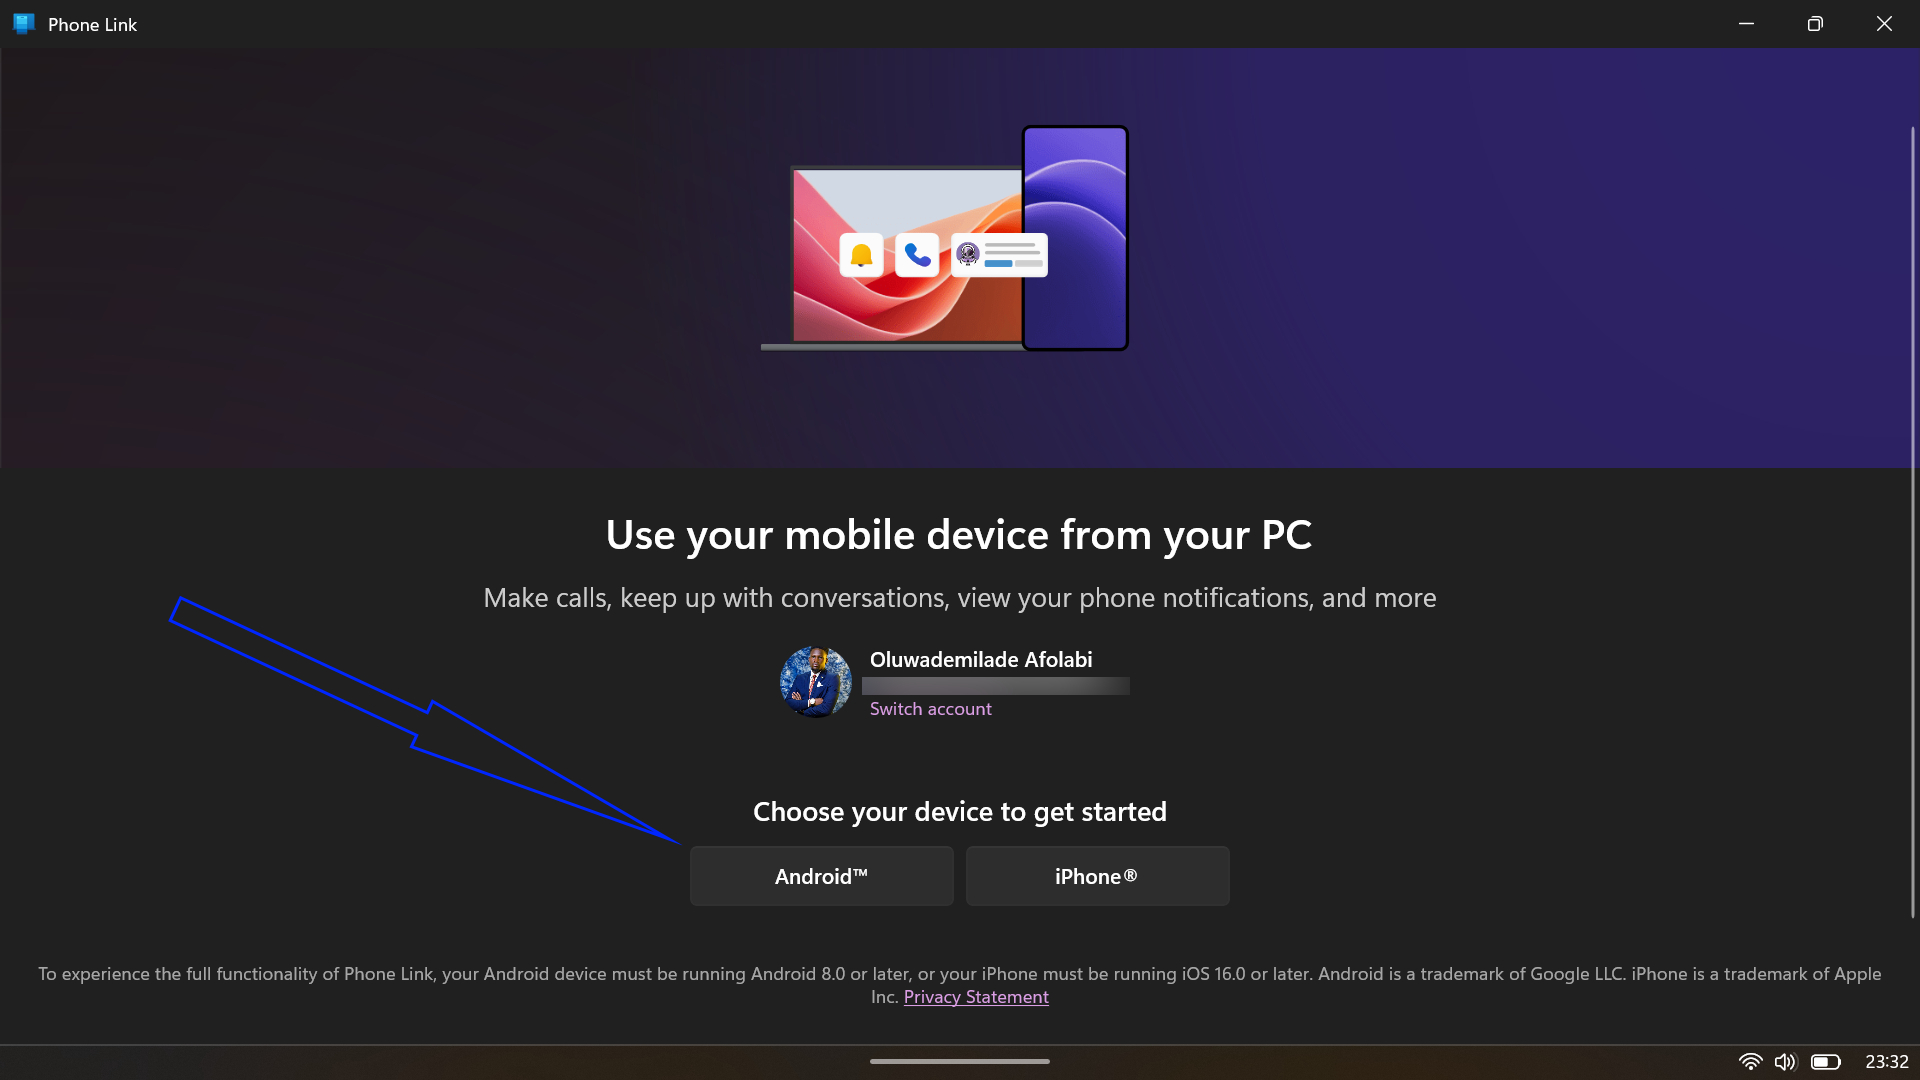
1. Microsoft Phone Link
Microsoft’s own Phone Link is the most seamless option, especially if you are on a Samsung, HONOR, OPPO, or a supported Android phone. Moreso, you are not really “installing Android on Windows.” You are streaming your phone’s apps to your PC via Phone Link, so they run on your phone and appear on your Windows desktop. As of January 2026, Phone Link gained an “Expanded screen” mode that finally lets Android apps stretch out and breathe, using up to 90 percent of your desktop display. It is a huge leap from the awkward, phone-shaped portrait window that used to make mobile apps feel cramped and out of place on a PC.
Here’s how you can set up Phone Link:
- Start by opening Phone Link on your Windows 11 PC. It usually comes pre-installed, but if not, you can grab it from the Microsoft Store in a minute or two.
- Next, open the Google Play Store on your Android phone and install the Link to Windows app. On some devices, it is already there, so you might not need to download anything.
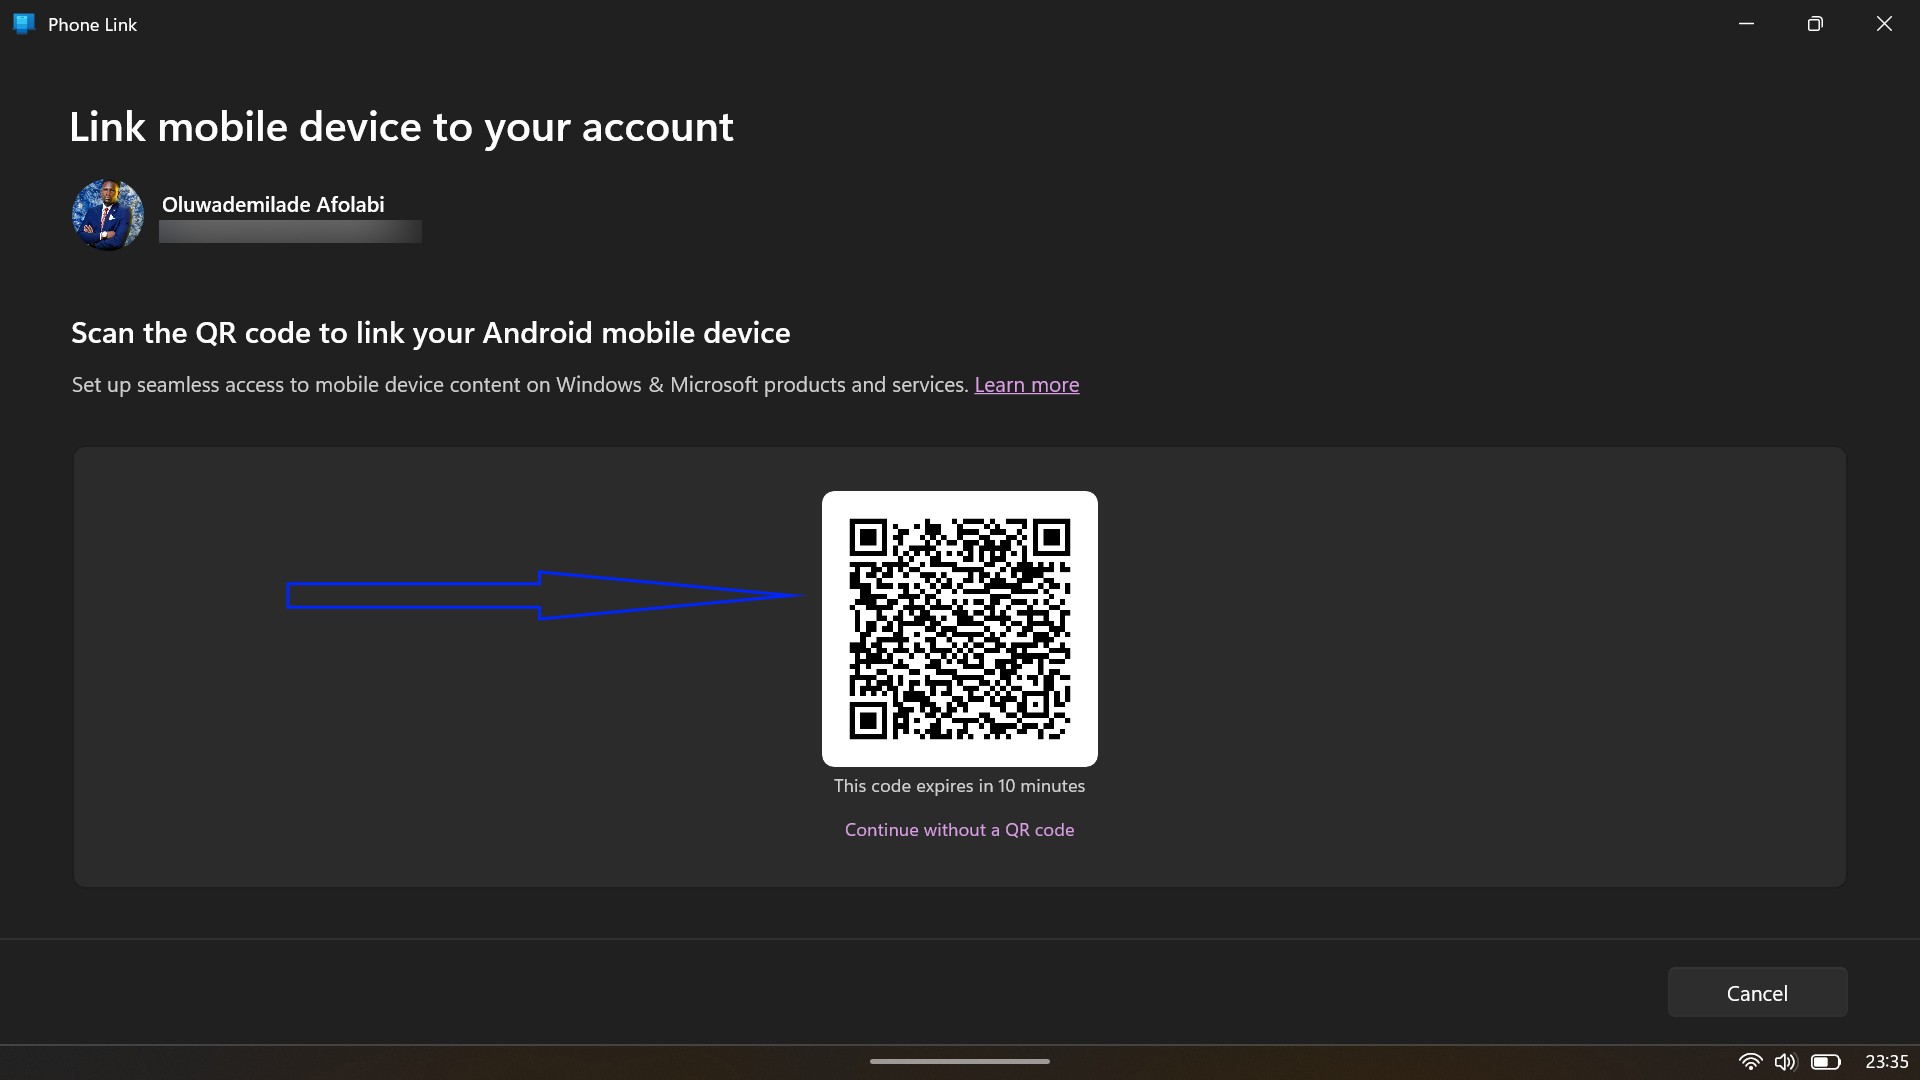
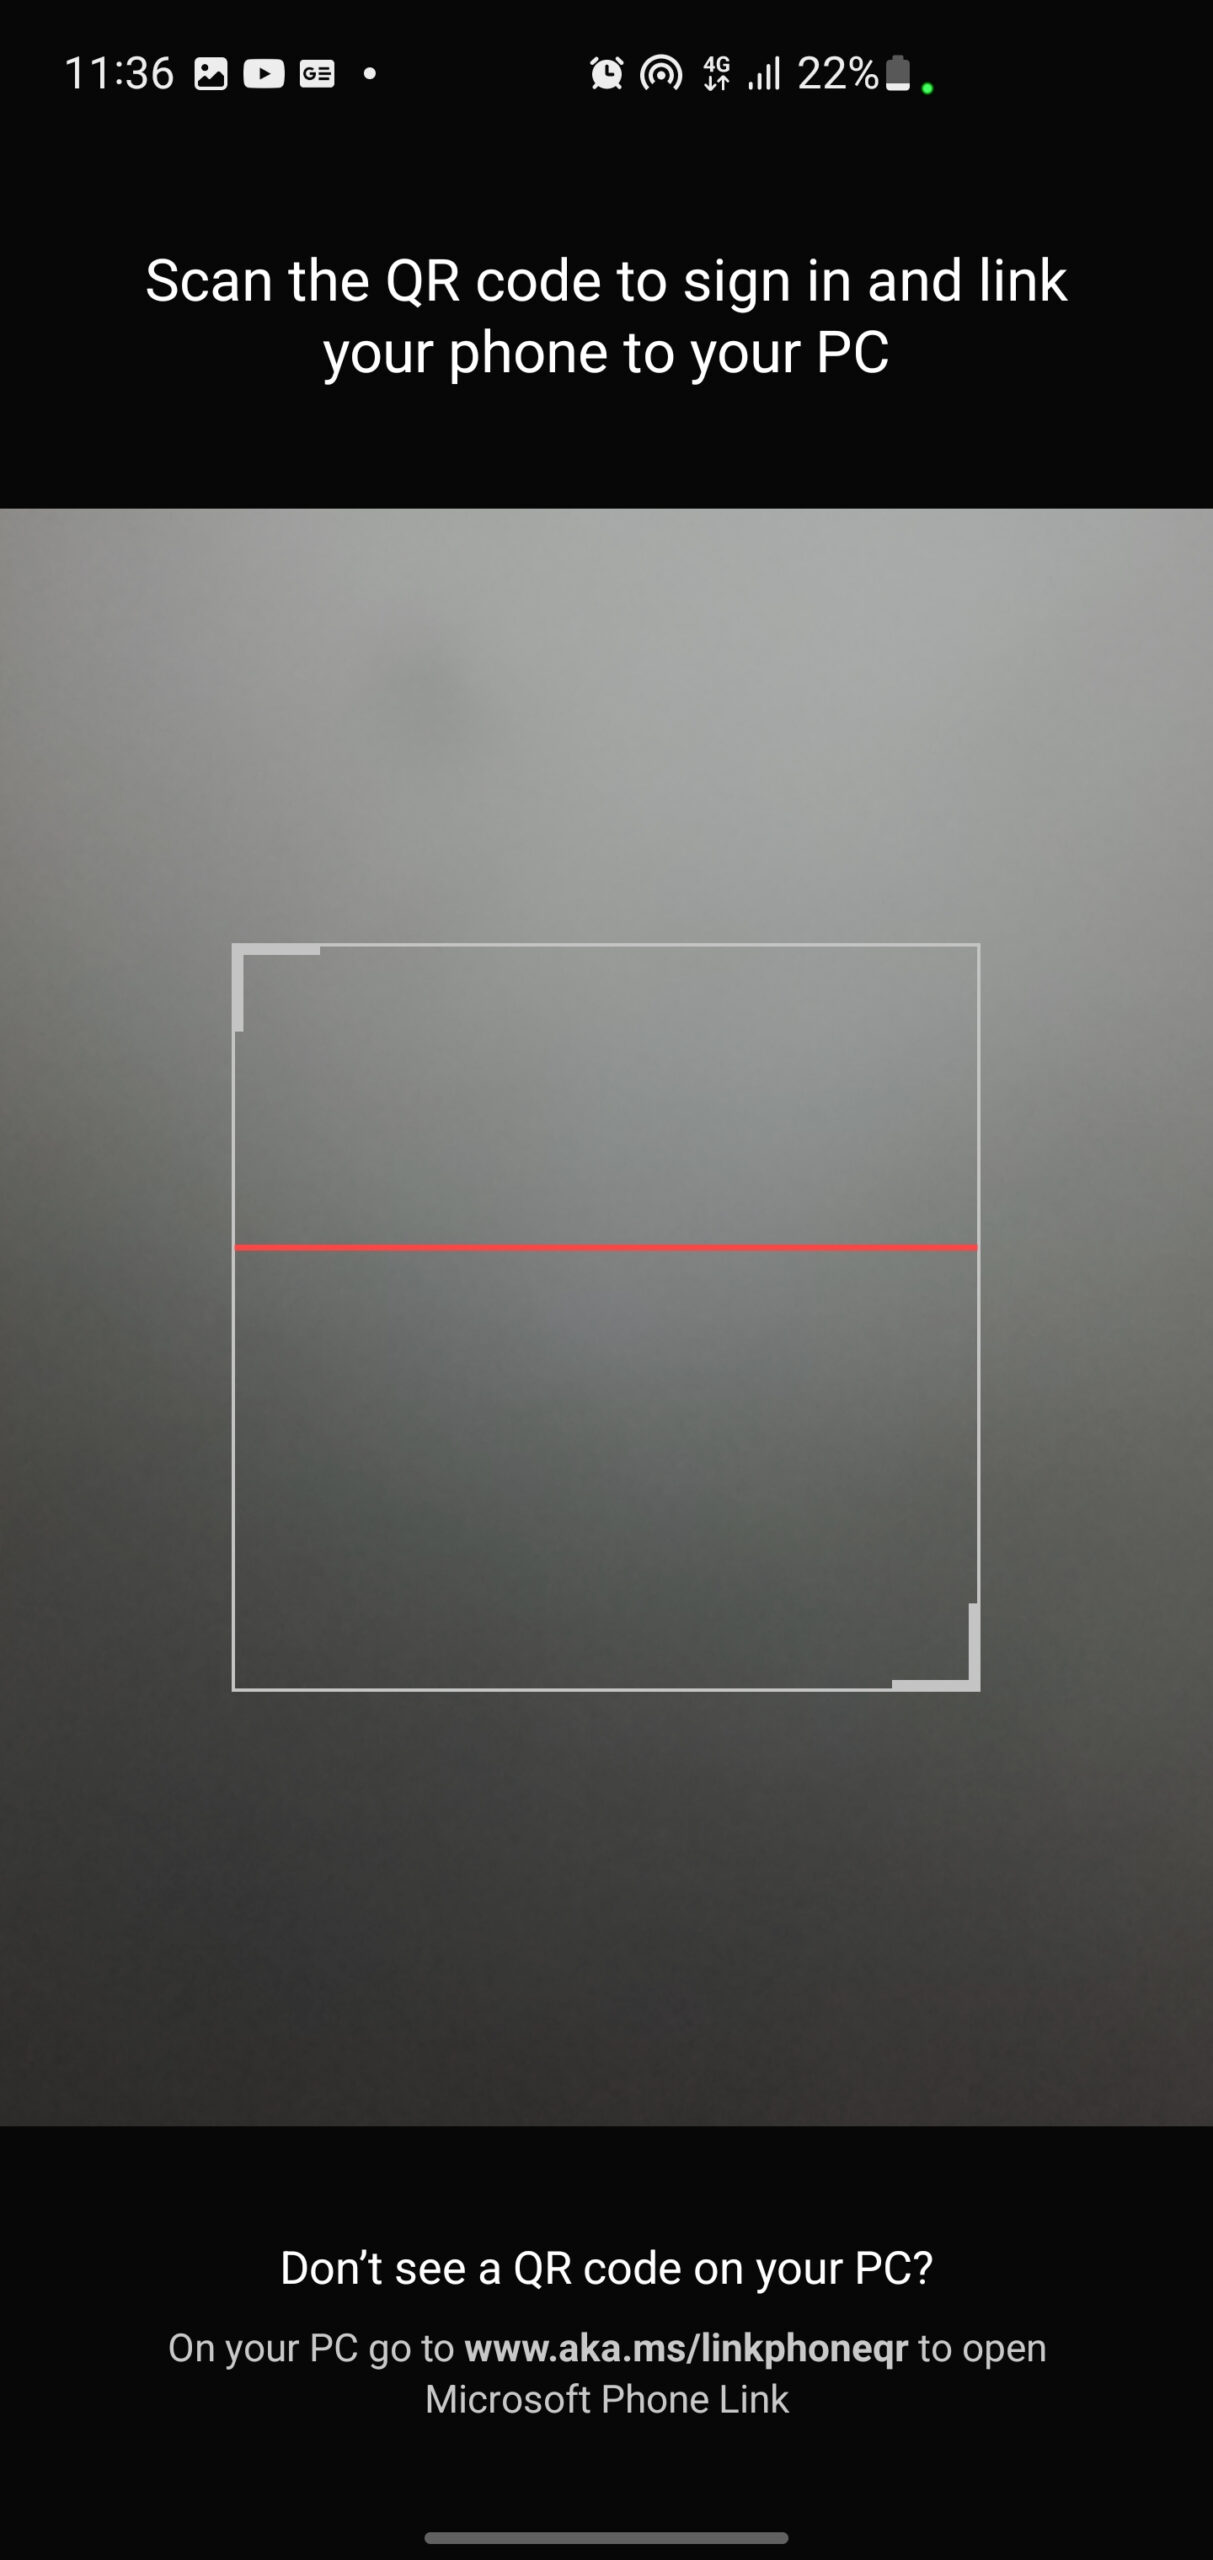
- Phone Link will ask you to sign in. You can do this the traditional way, but using the QR code is much faster, so that is the route we will take. Back on your PC, since you are already signed into Windows, your account should appear automatically. Select Android to continue.

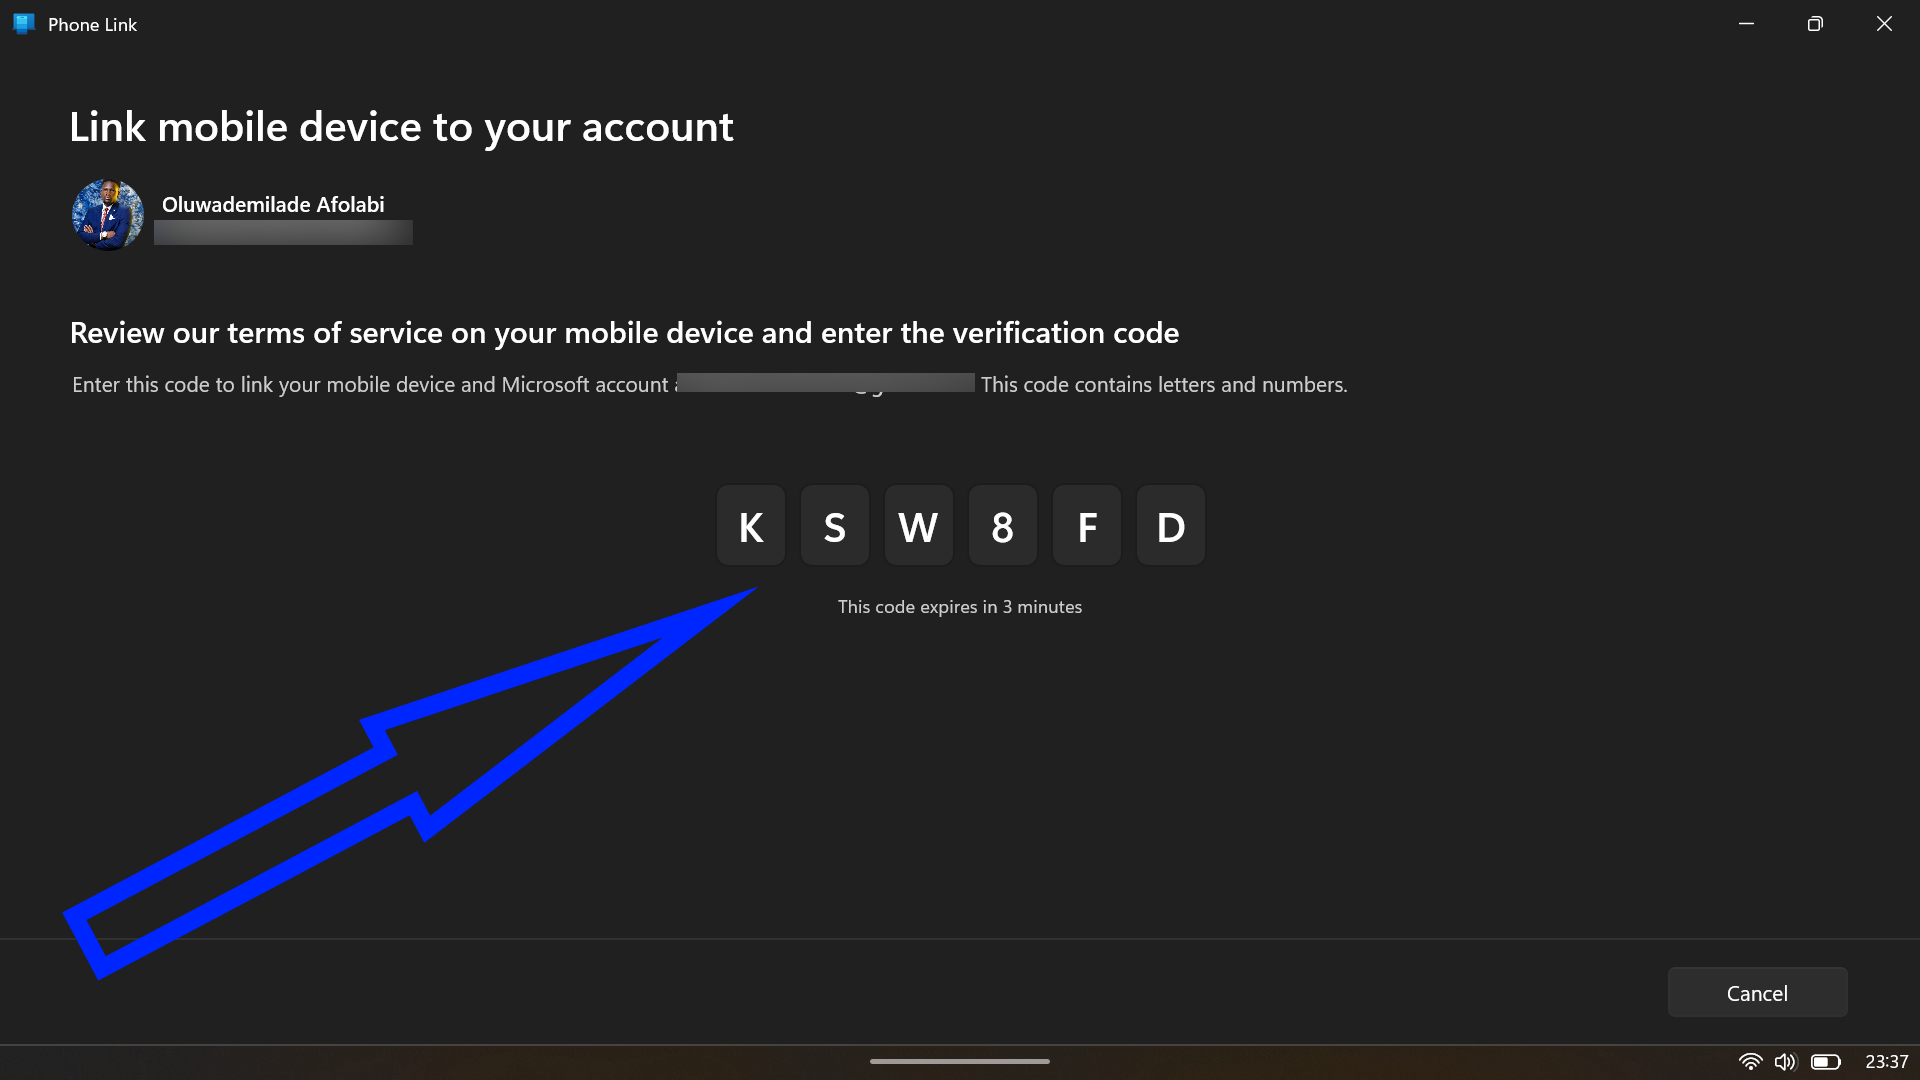
- Now, use the in-app camera inside Link to Windows to scan the QR code displayed on your PC, then tap Continue. You will be prompted to enter a short code shown on the desktop. Type it in, tap Continue again, and you are almost done.
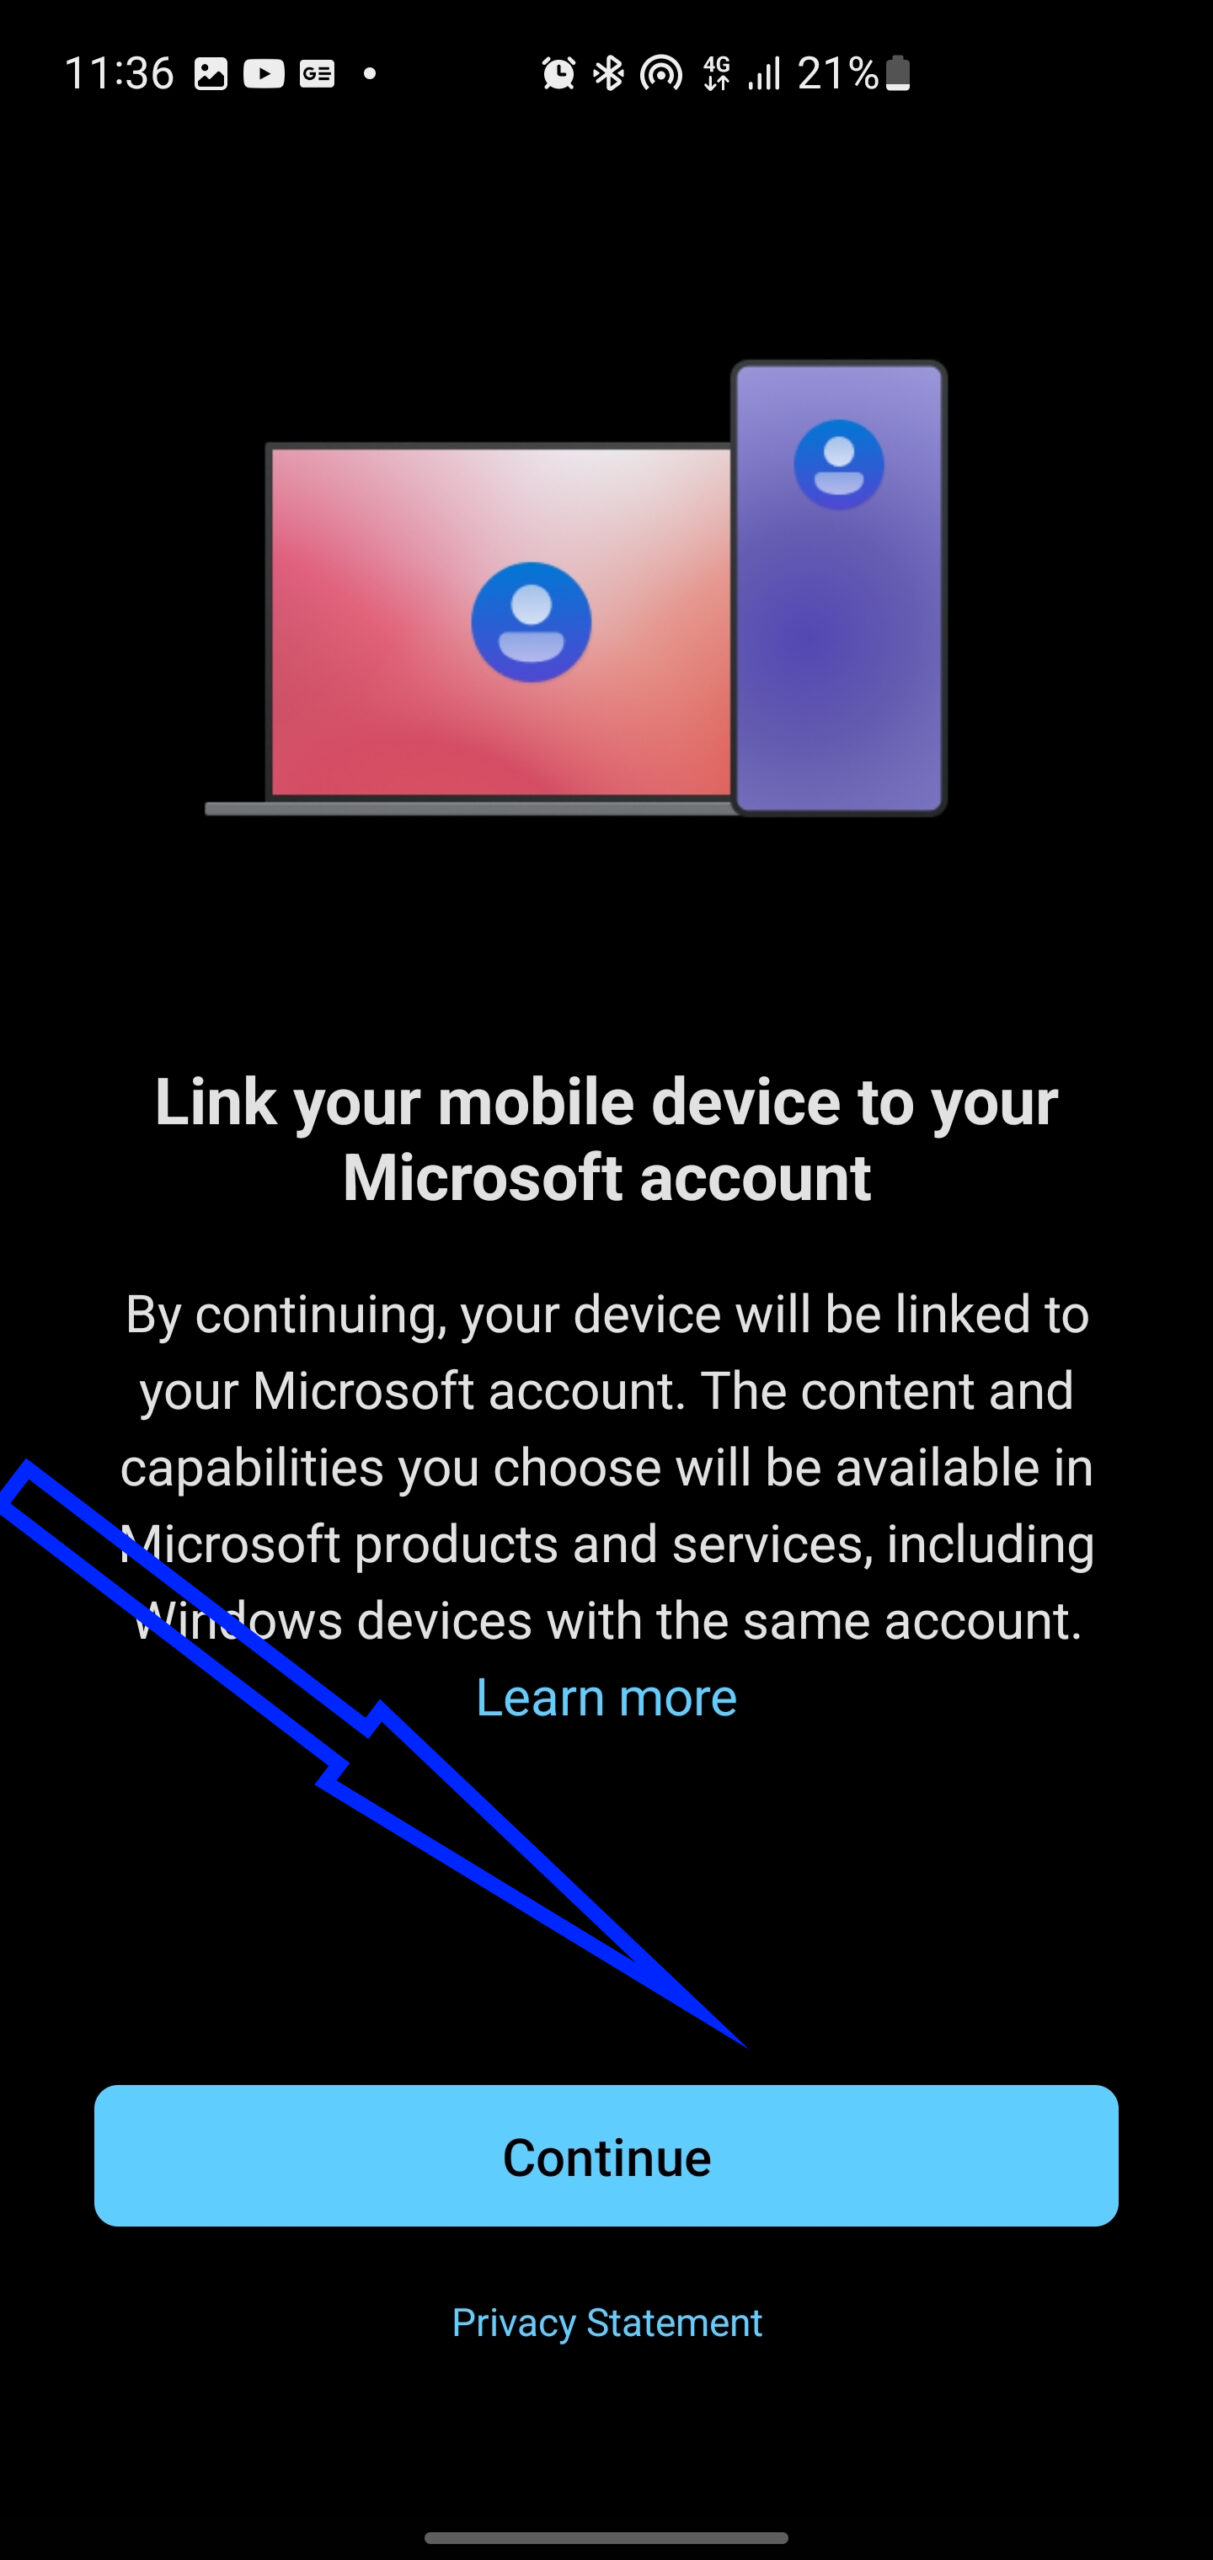
- At this point, Android will ask for a handful of permissions, including access to your phone, messages, contacts, and storage. Grant those, and the connection locks in.
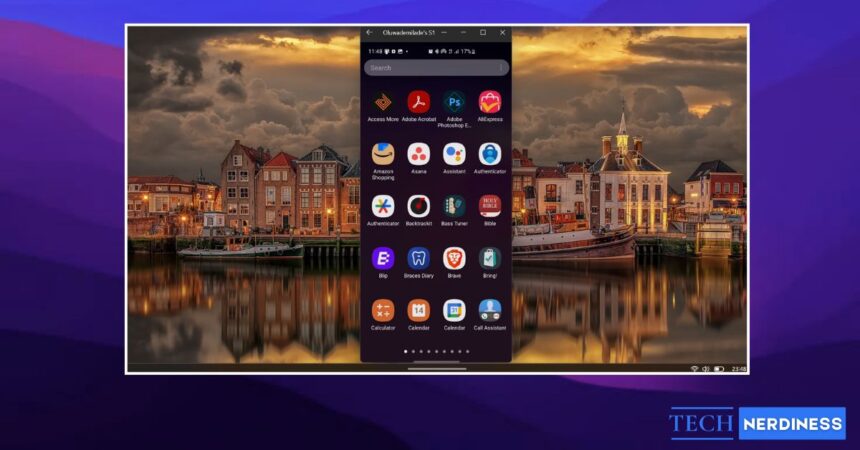
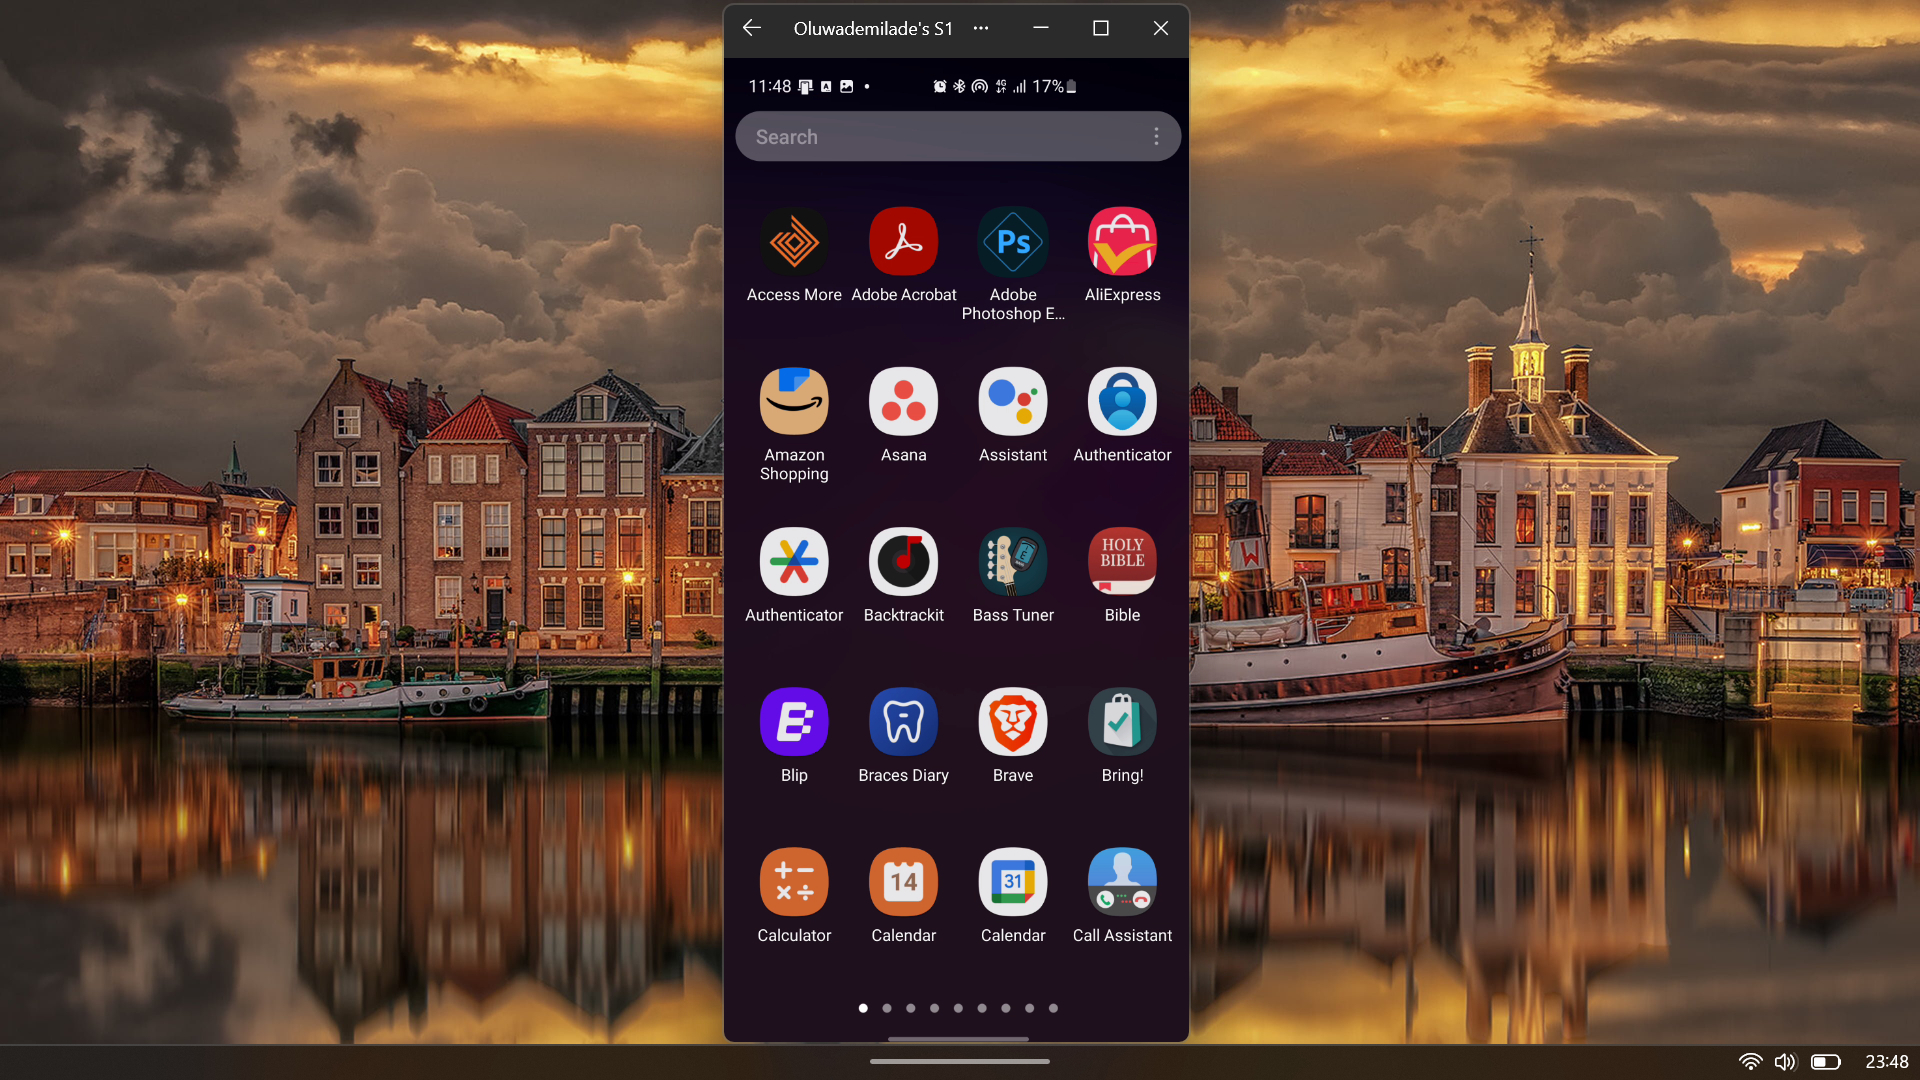
- Once everything is set up, head to the Apps section inside Phone Link. From there, you can Open phone screen, launch and use your Android apps directly from your Windows desktop.
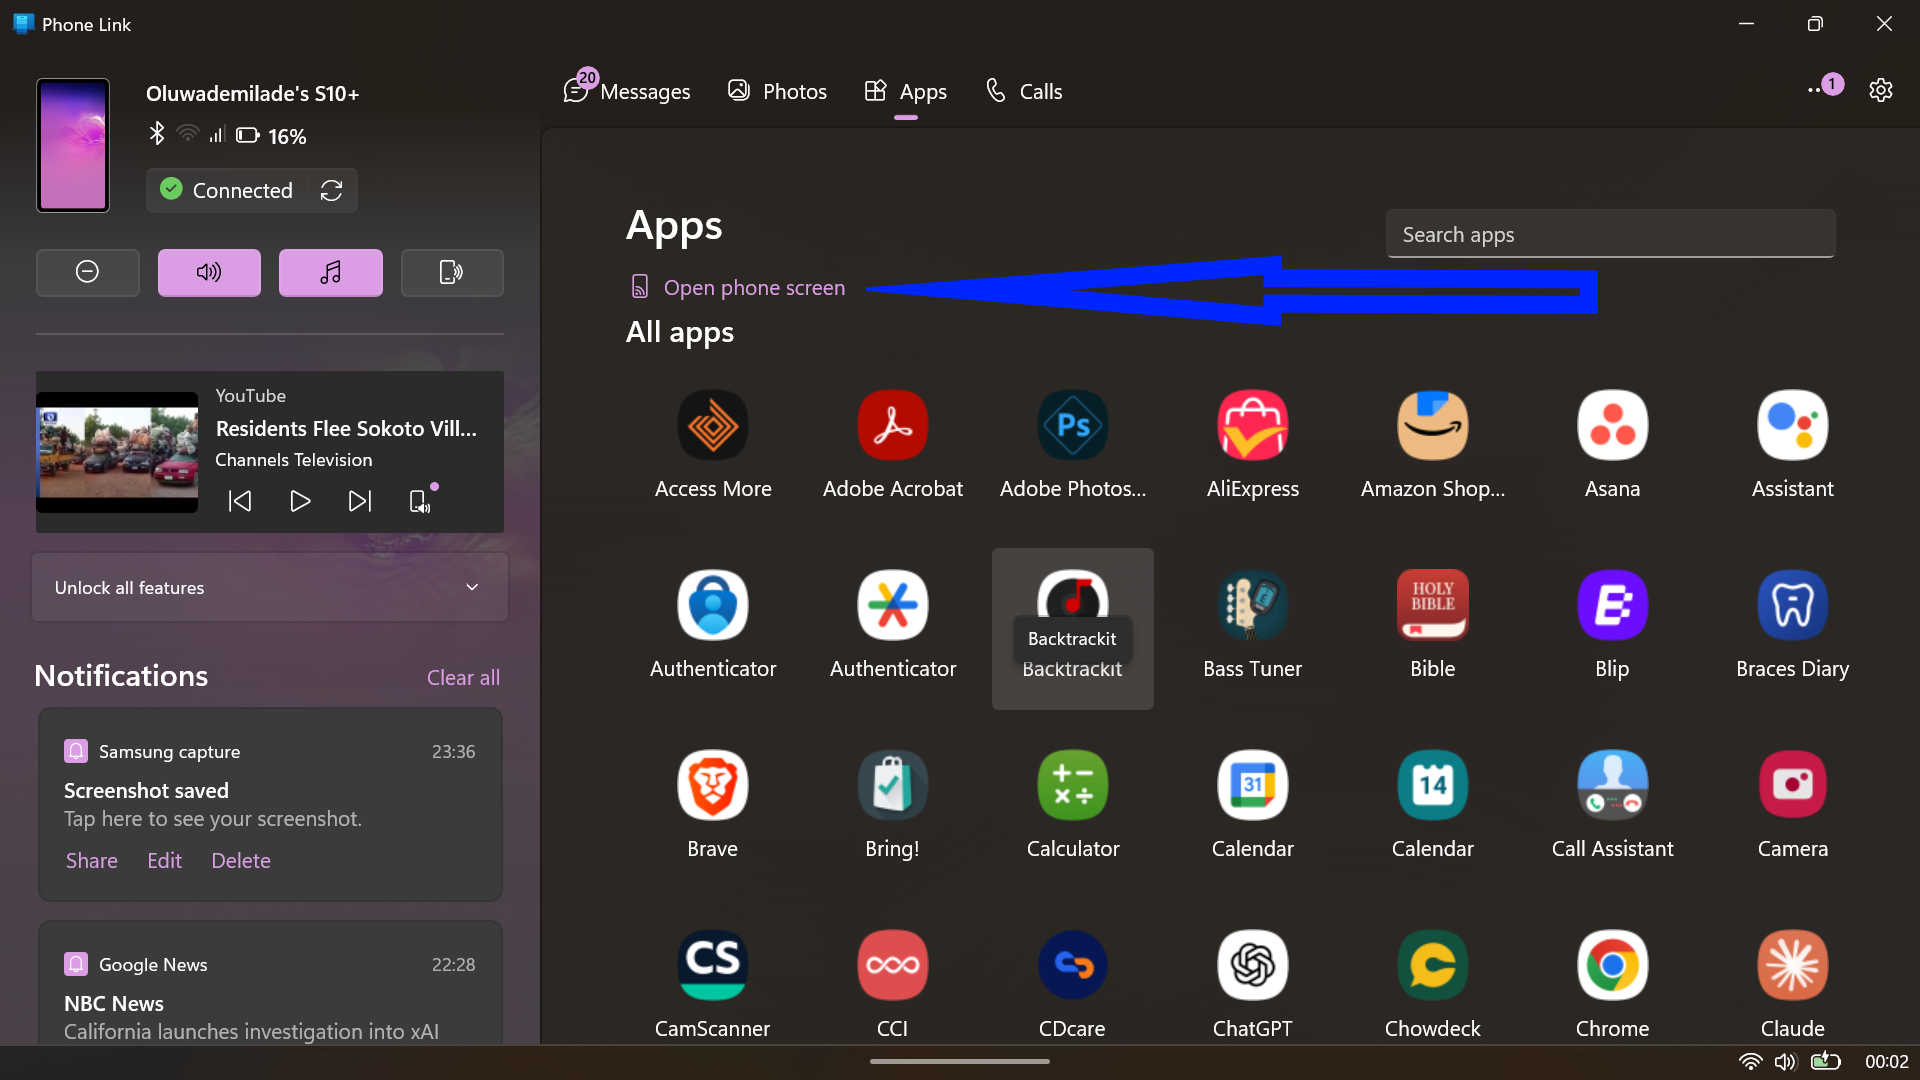
You can pin Android apps to your Windows Start menu or taskbar by right-clicking the app icon in Phone Link and selecting your preferred location. Apps launch in separate windows, allowing genuine multitasking alongside native Windows applications. Your PC’s mouse, keyboard, and touchscreen all function within Android apps.
The expanded screen mode activates automatically for compatible apps, though some may require a restart to switch layouts. Note that certain applications, particularly messaging platforms, may display diminished clarity when stretched to larger dimensions.
2. Third-Party Emulators
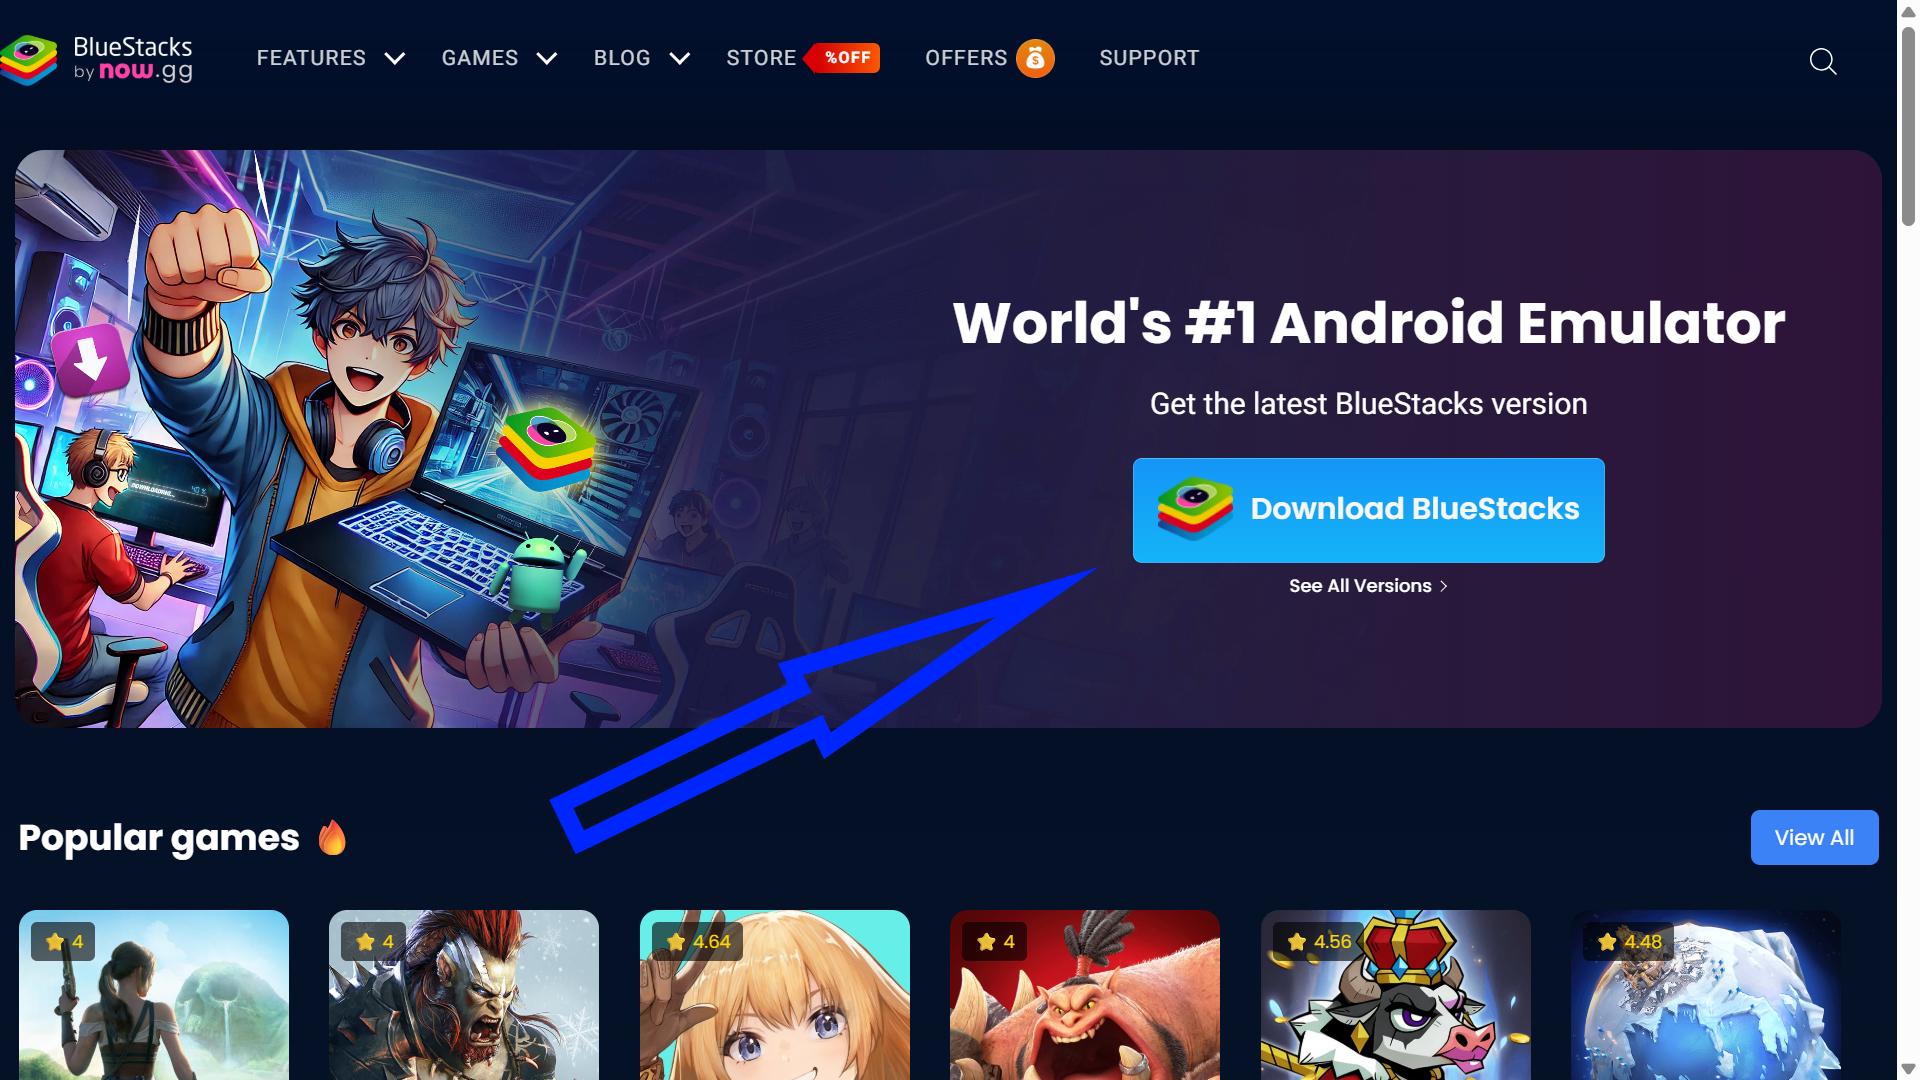
An emulator creates an Android-like environment on your Windows PC, so you can install and run Android apps inside it. This is the broadest solution, because it is not tied to a specific phone model. BlueStacks 5 still sits at the top of the pile, offering full access to the Google Play Store and solid performance on both Windows 10 and Windows 11.
Android Studio Emulator is the most “official” route if you are a developer or you want something closer to stock Android, but it can feel heavier than consumer emulators. It also leans on hardware acceleration for sane performance.
Here’s how to get started with BlueStacks:
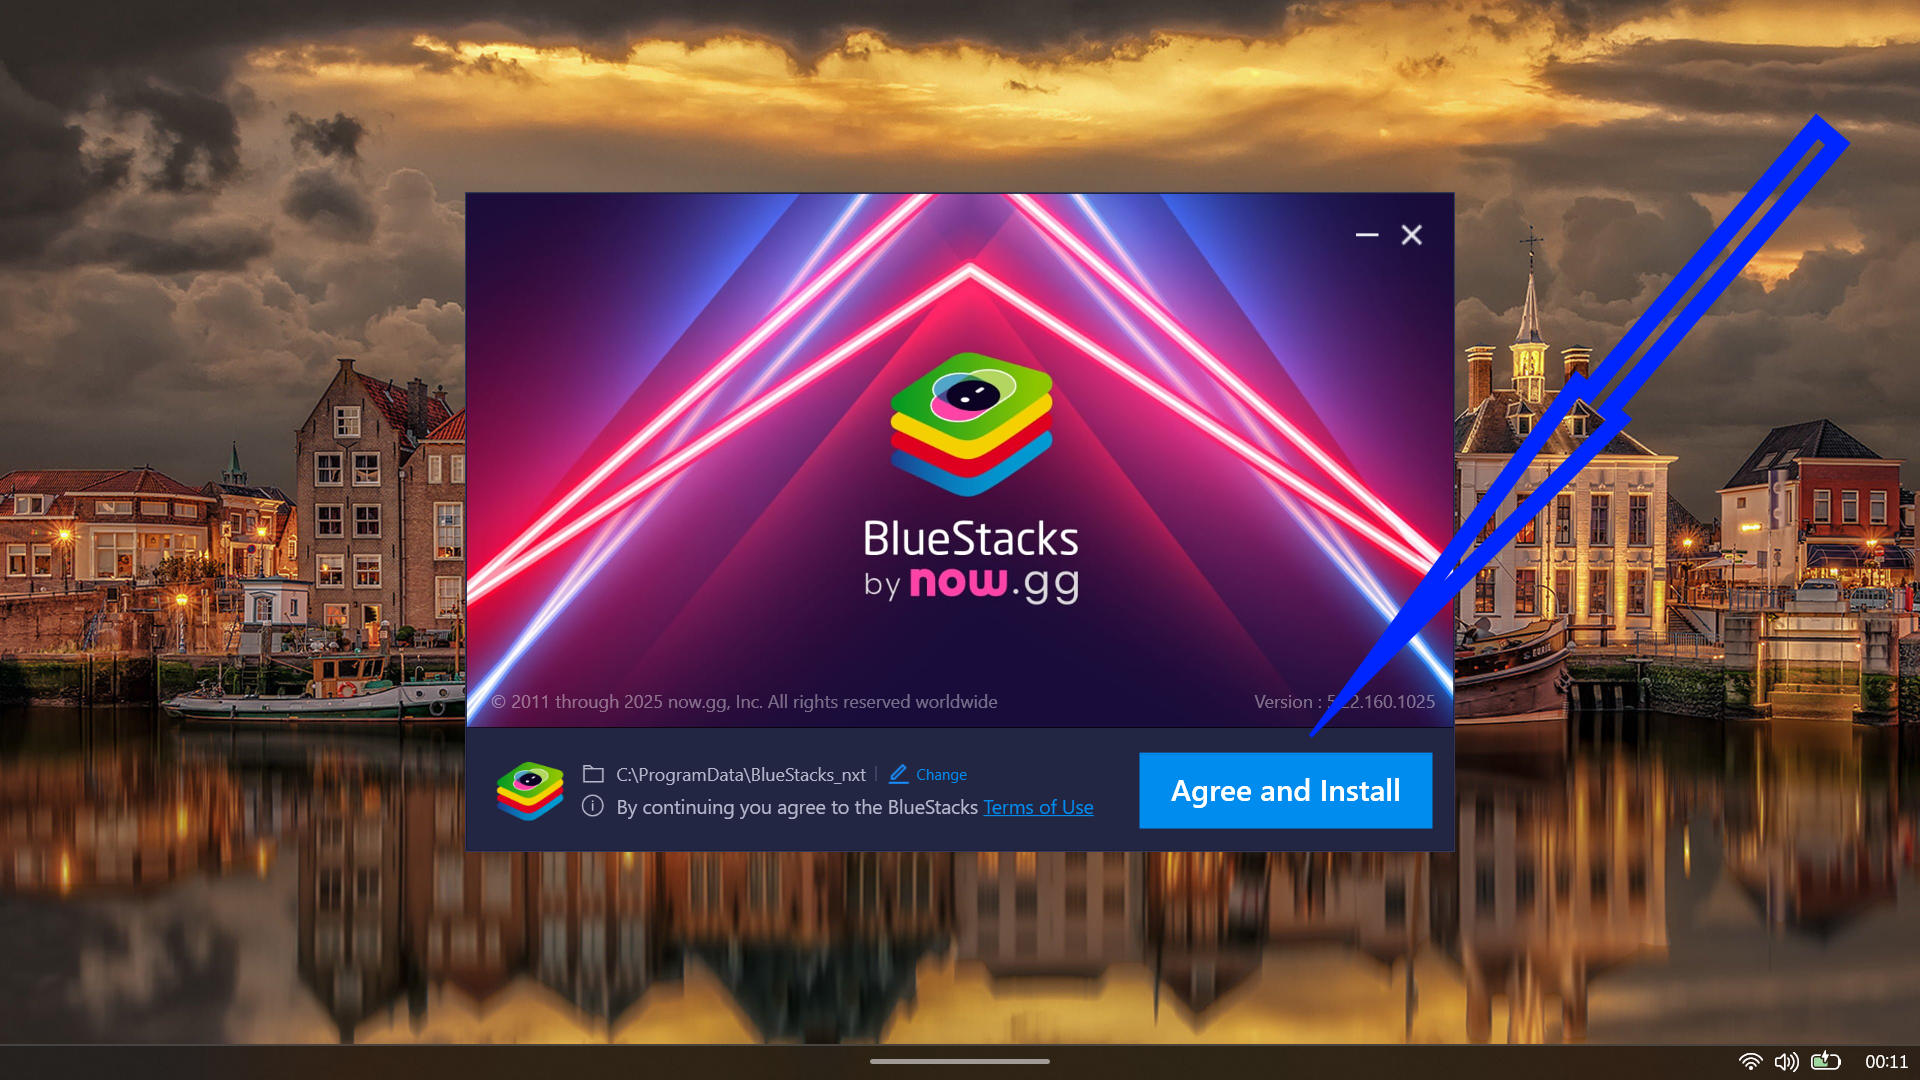
- Download BlueStacks 5 from the official website.
- Launch the installer and follow on-screen prompts.
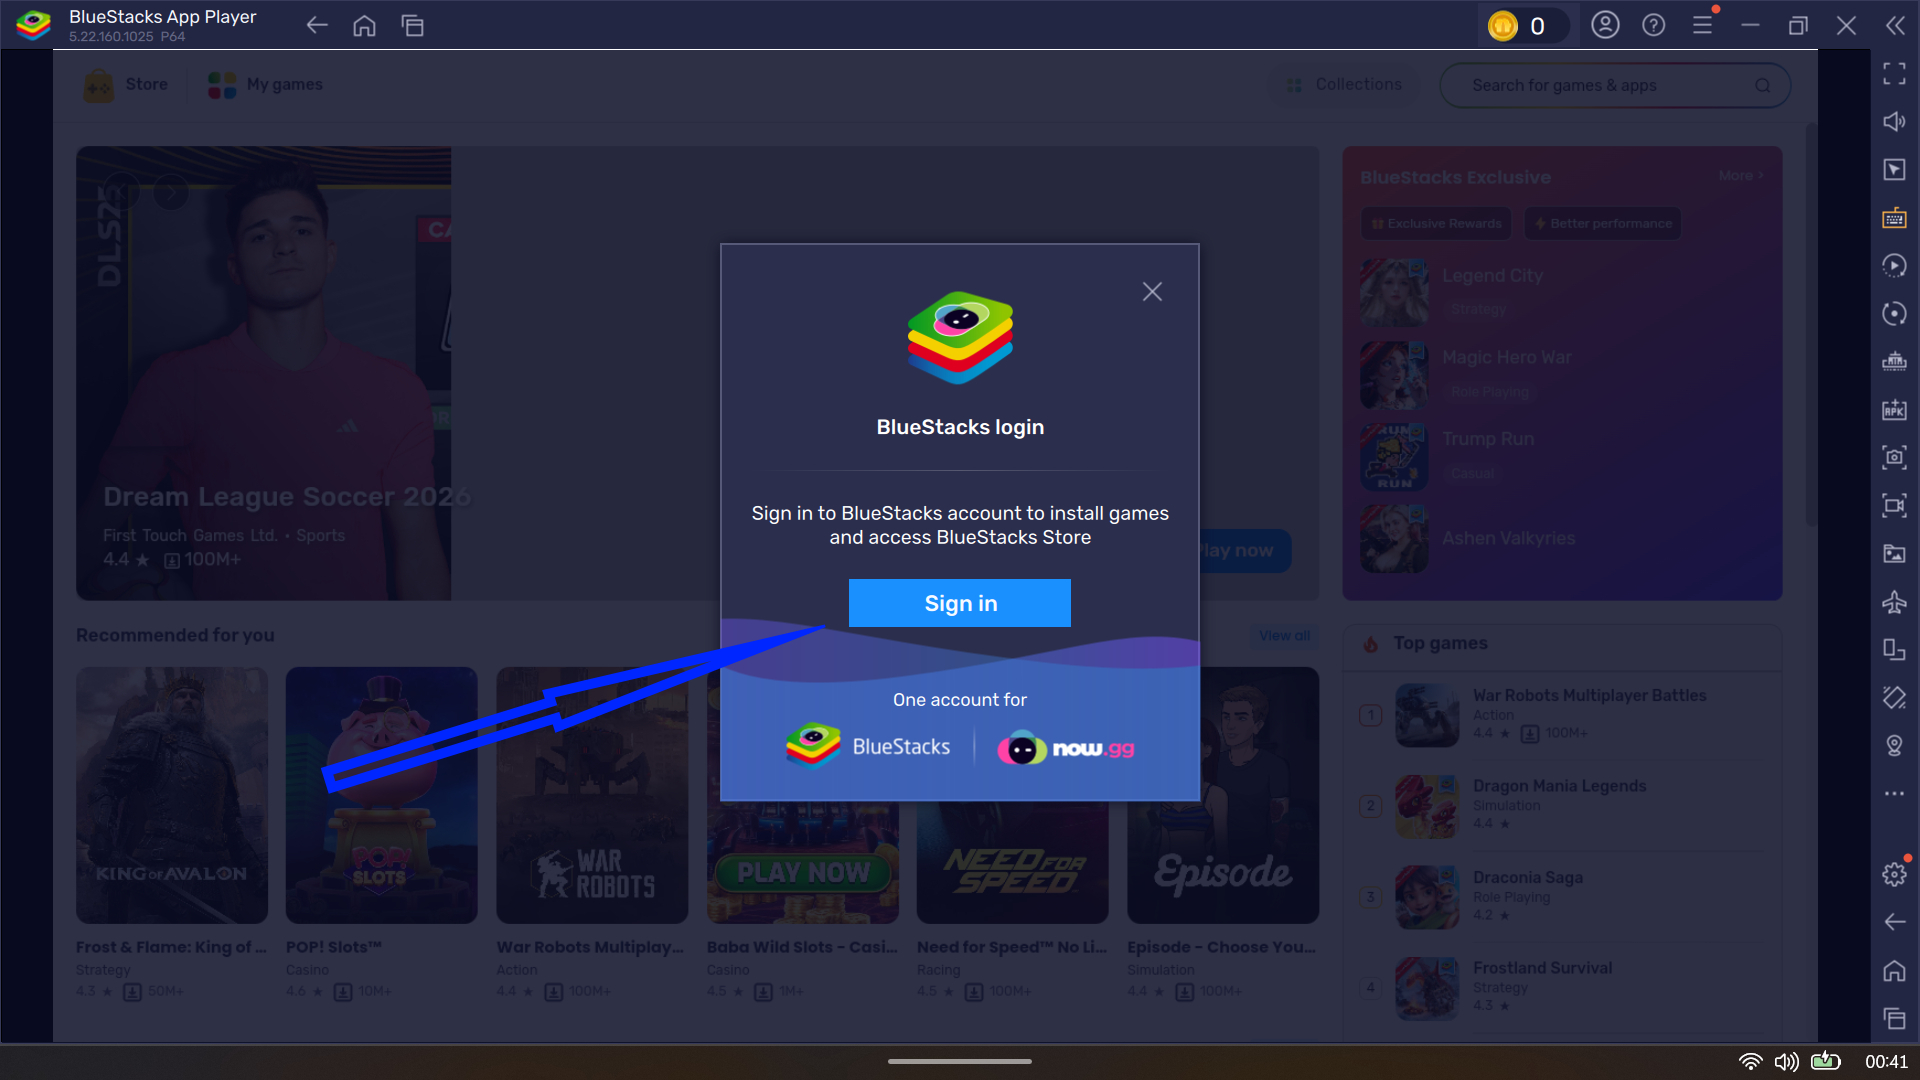
- Once it launches, head to the Store section in the upper-left corner. You will be prompted to sign in or create a BlueStacks account.
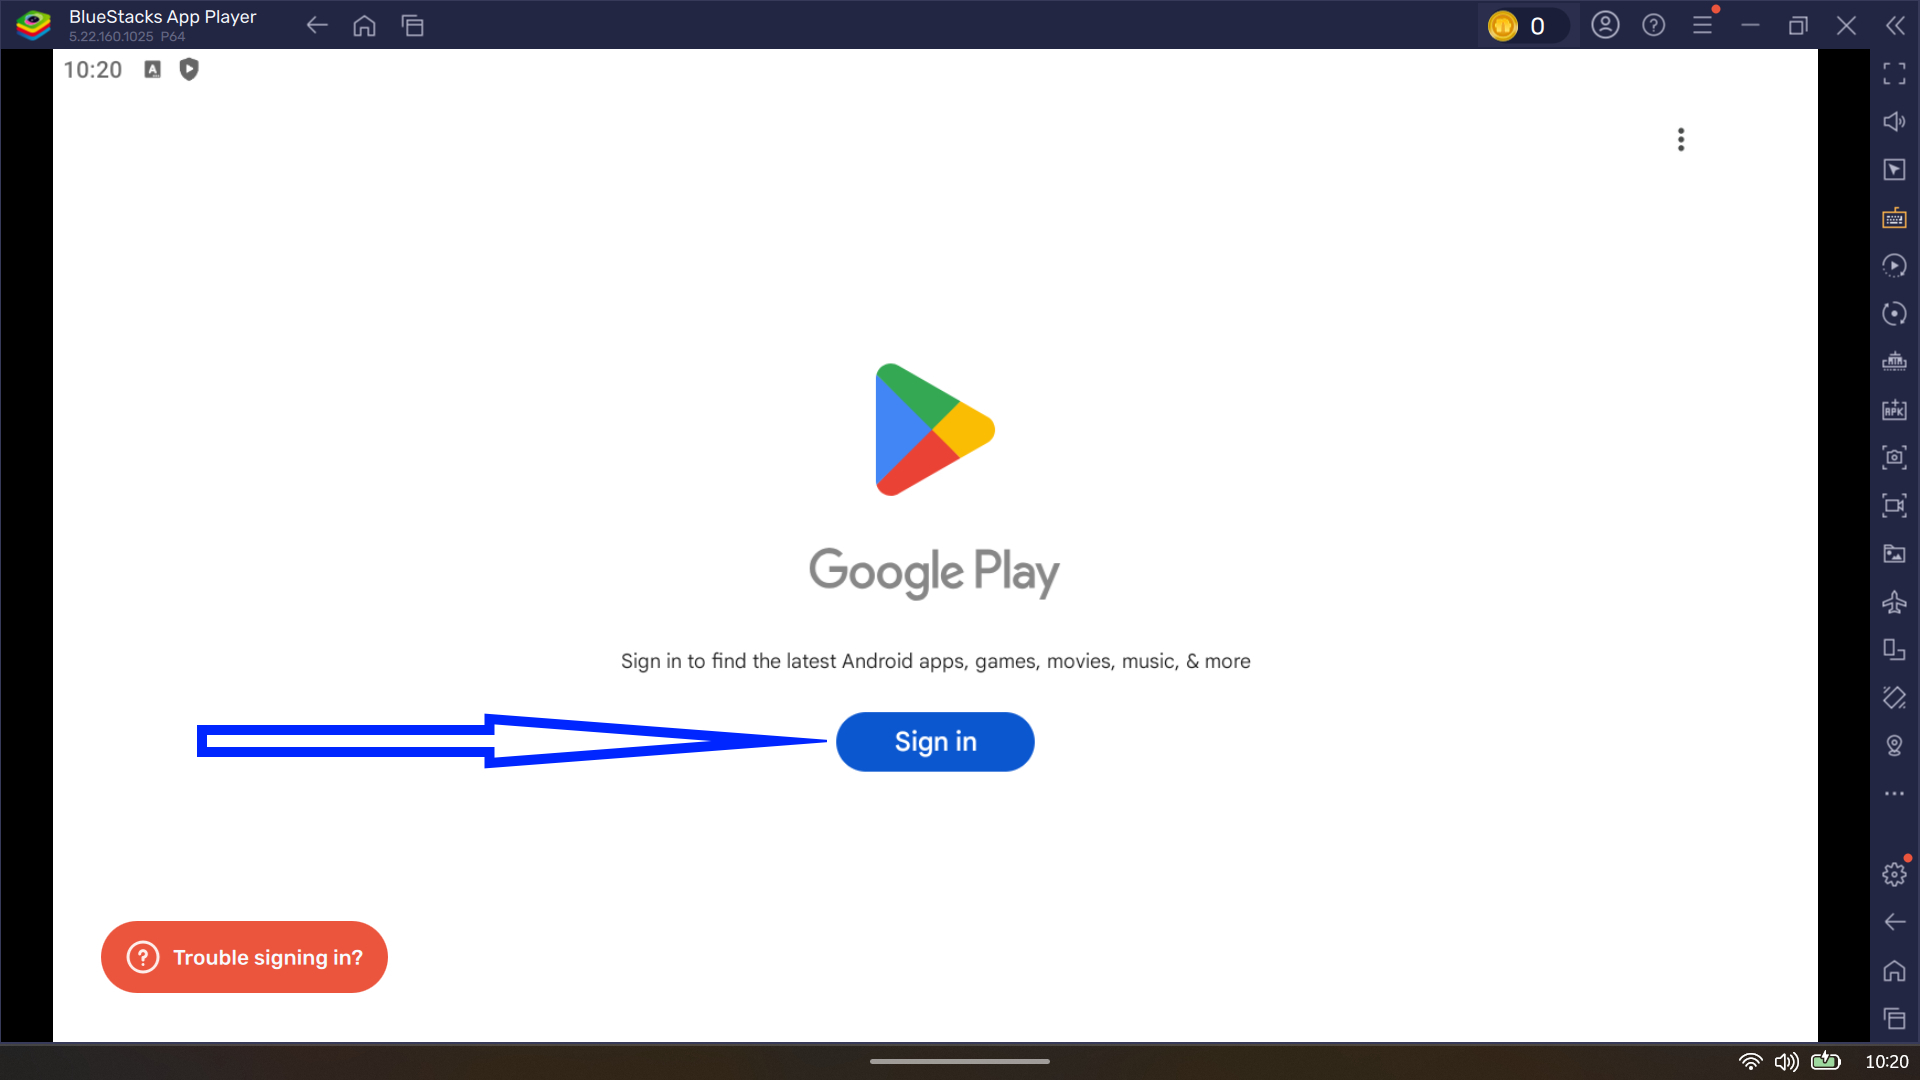
- After that, you will land on the Google Play Store screen, where you can sign in with your Google account and unlock the full Android ecosystem.

- From there, install and run apps as you would on any Android device.
BlueStacks supports advanced features such as multi-instance management, allowing you to run multiple Android apps simultaneously. Other emulators take slightly different angles. LDPlayer leans hard into speed and simplicity, while tools like Genymotion are built for developers who need advanced testing and device simulation rather than casual app use.
And if you are still holding onto one of the community-maintained Windows Subsystem for Android builds, those are still out there, too. They can deliver a more native-feeling experience, but they come without Microsoft’s blessing, updates, or safety net.
3. Google Play Games on PC
This one is more focused, and that is the point. Google Play Games on PC is built for Android games, not the entire Android app universe.
Why you may like it:
- It is Google-backed, and the installation is straightforward.
- It is built around performance and keyboard support for supported games.
- You are pulling games from a curated catalog rather than sideloading random files.
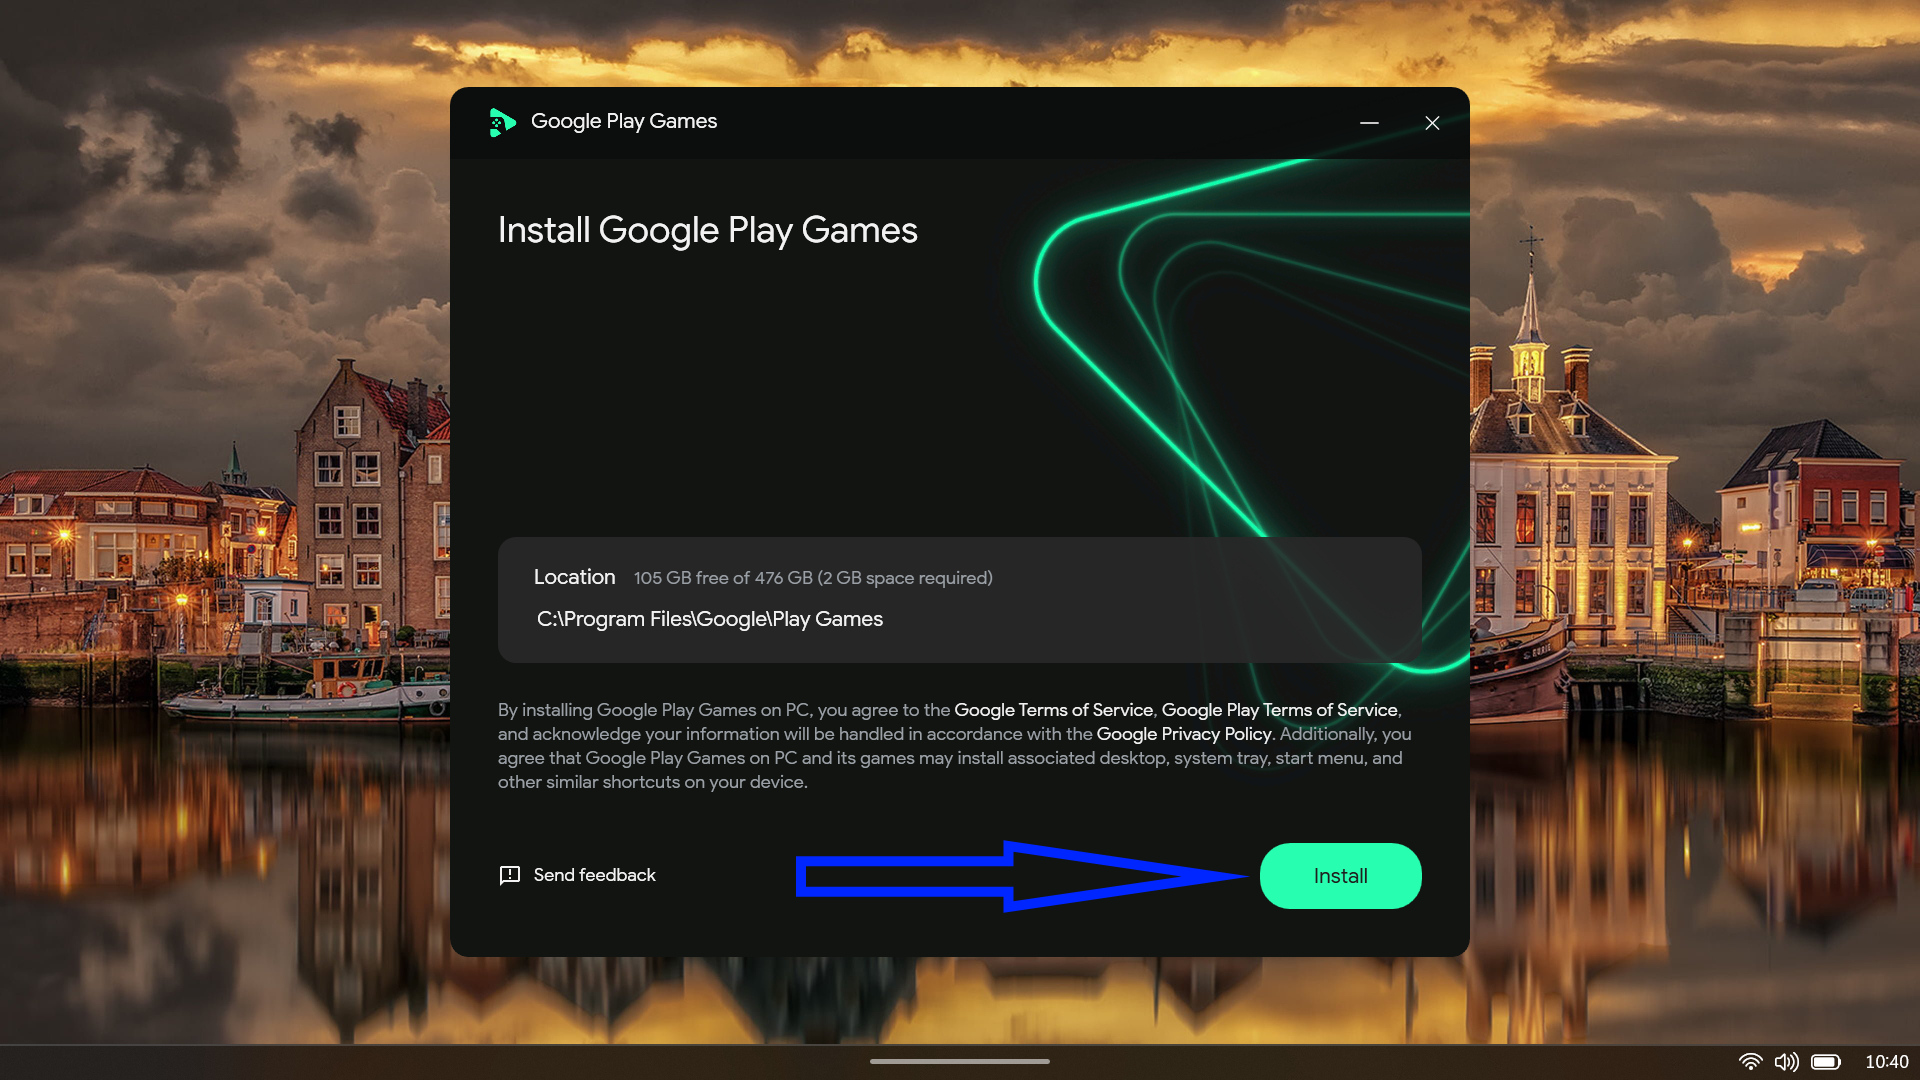
Here’s how to get started with it:
- Download Google Play Games for Windows from the official website.
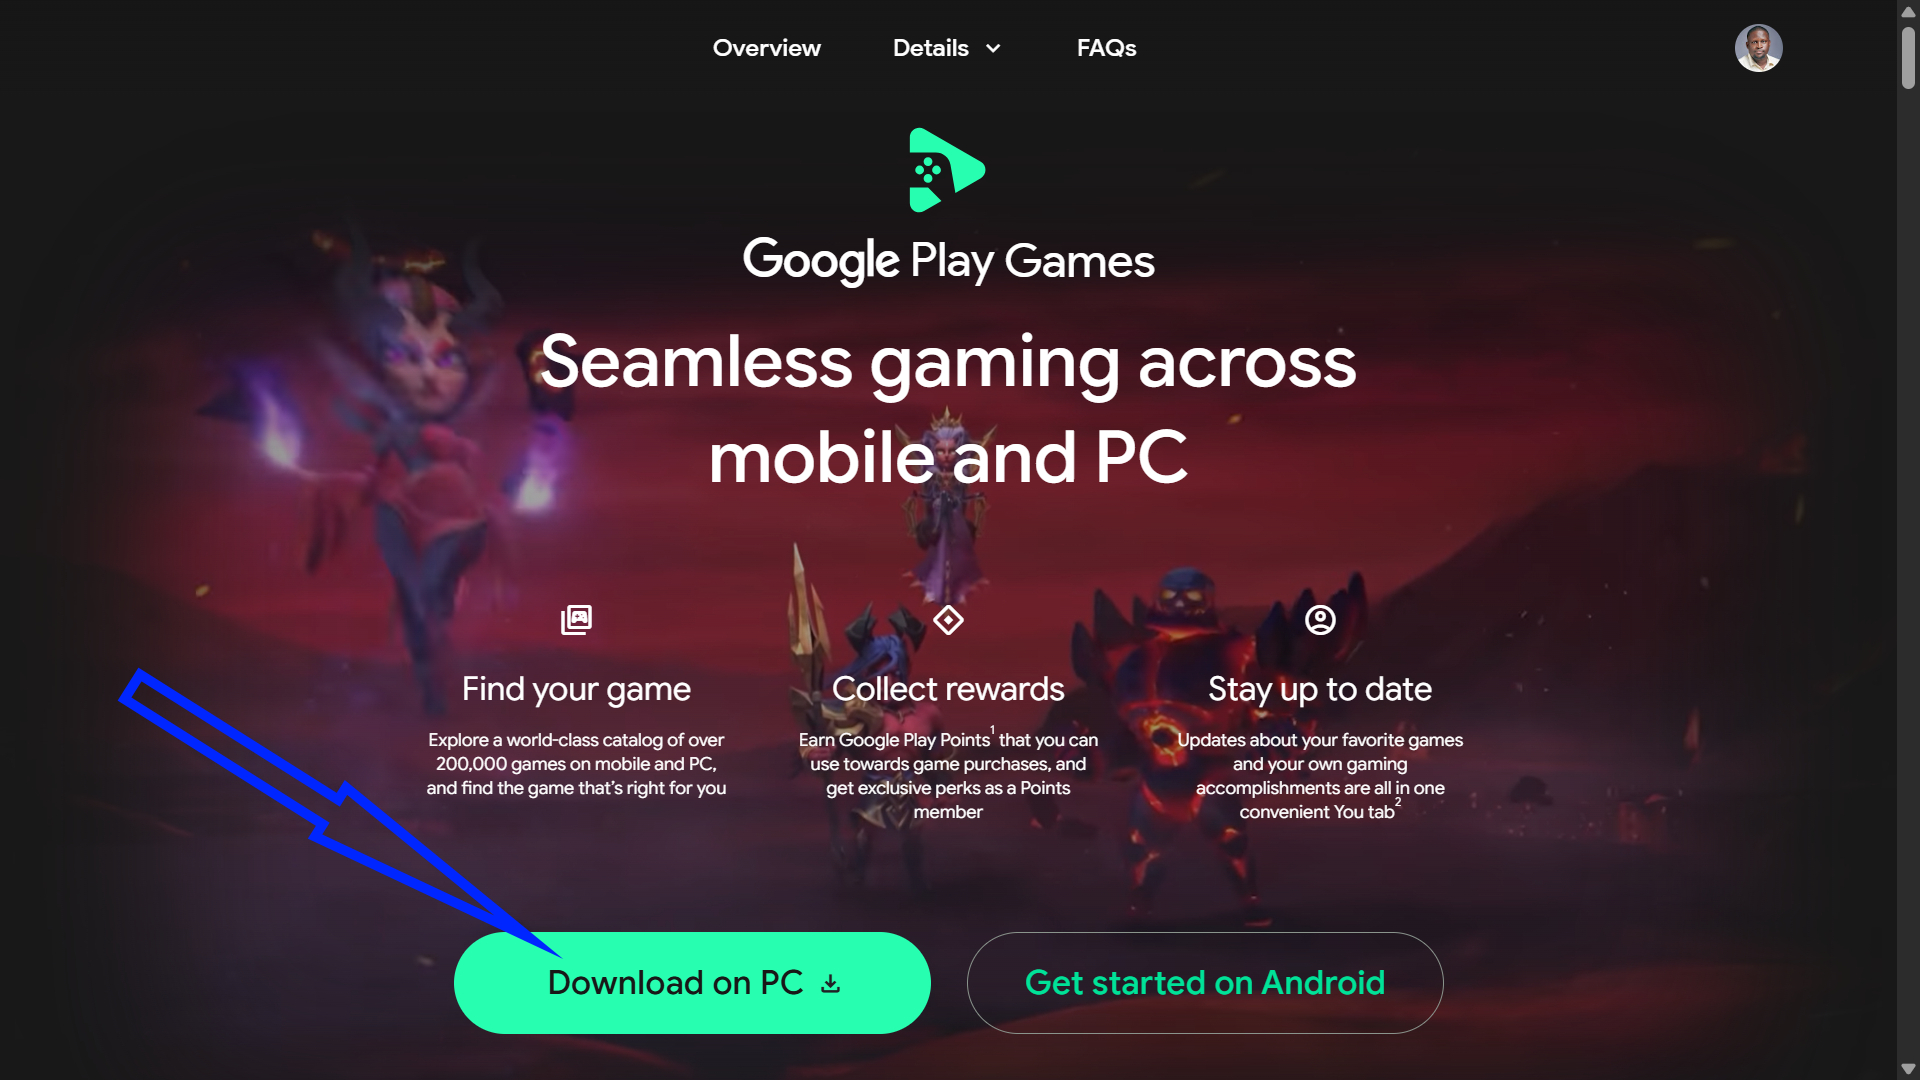
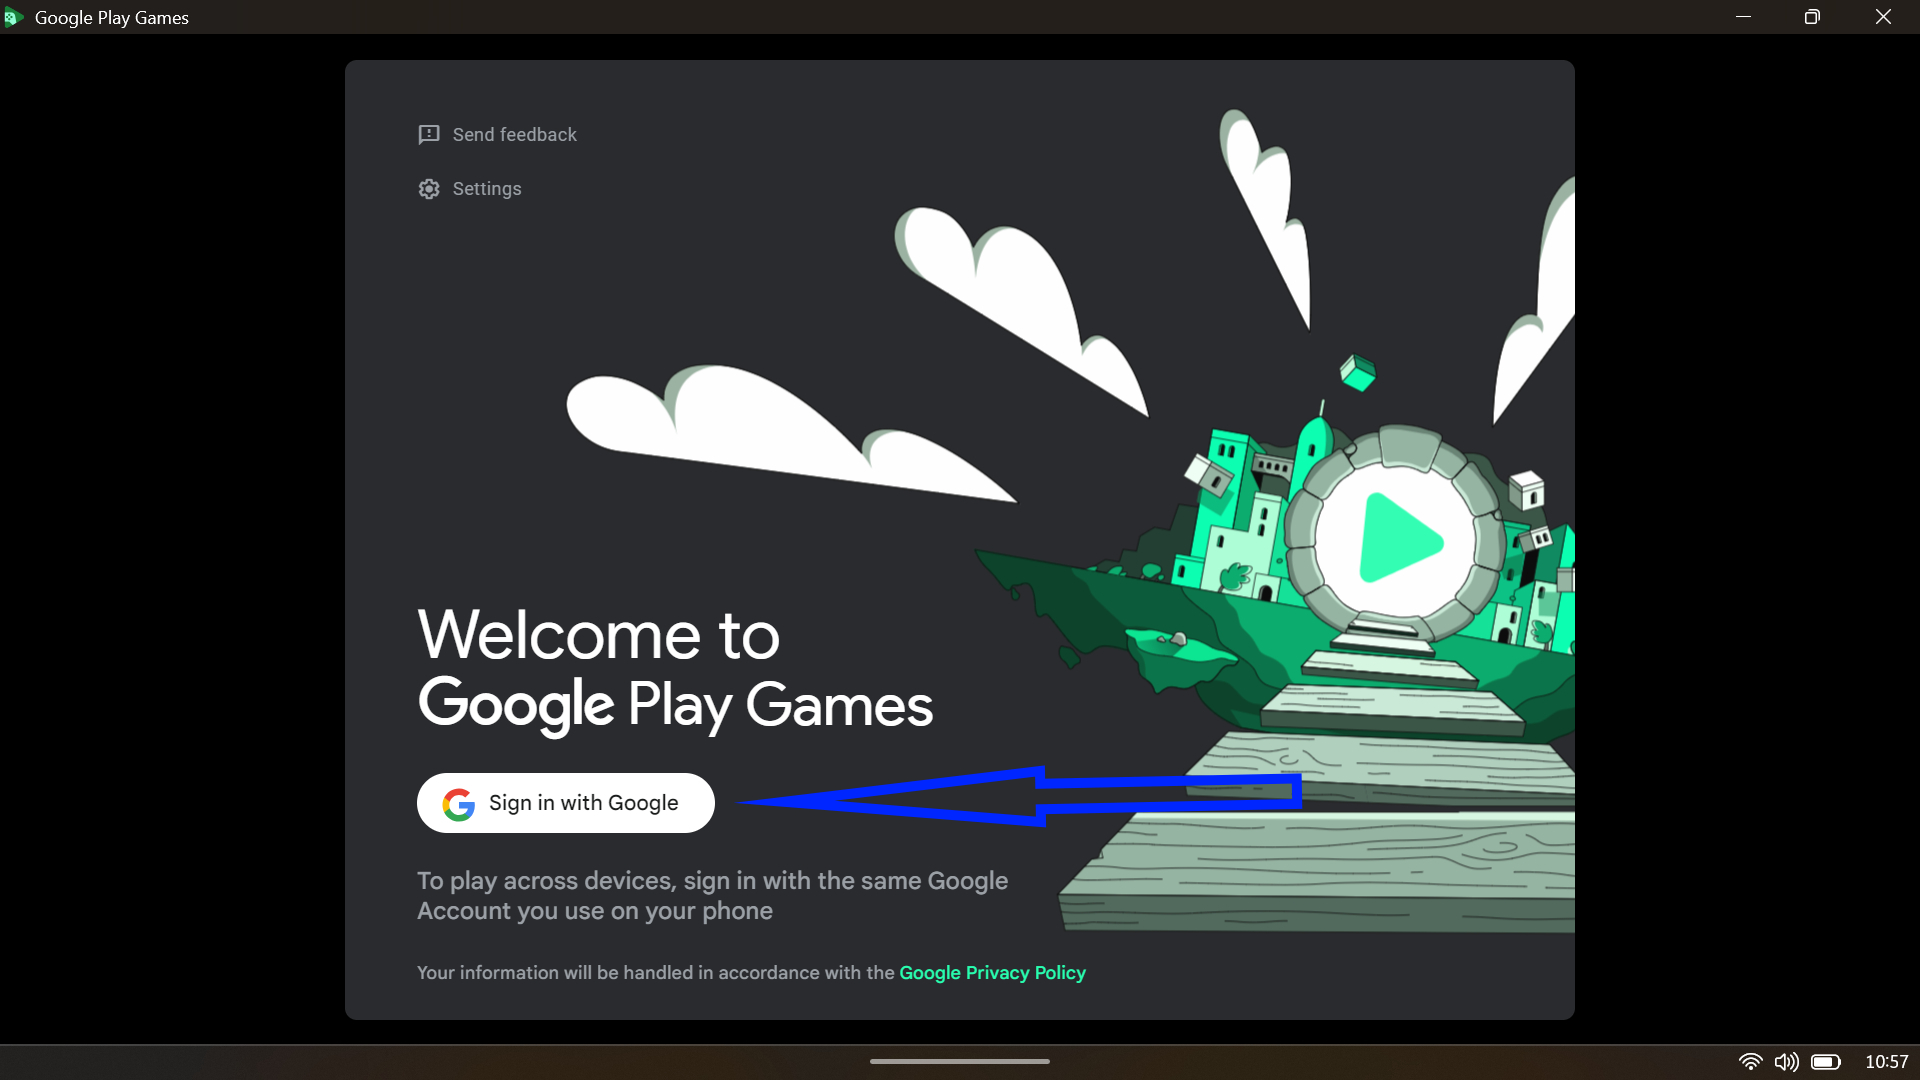
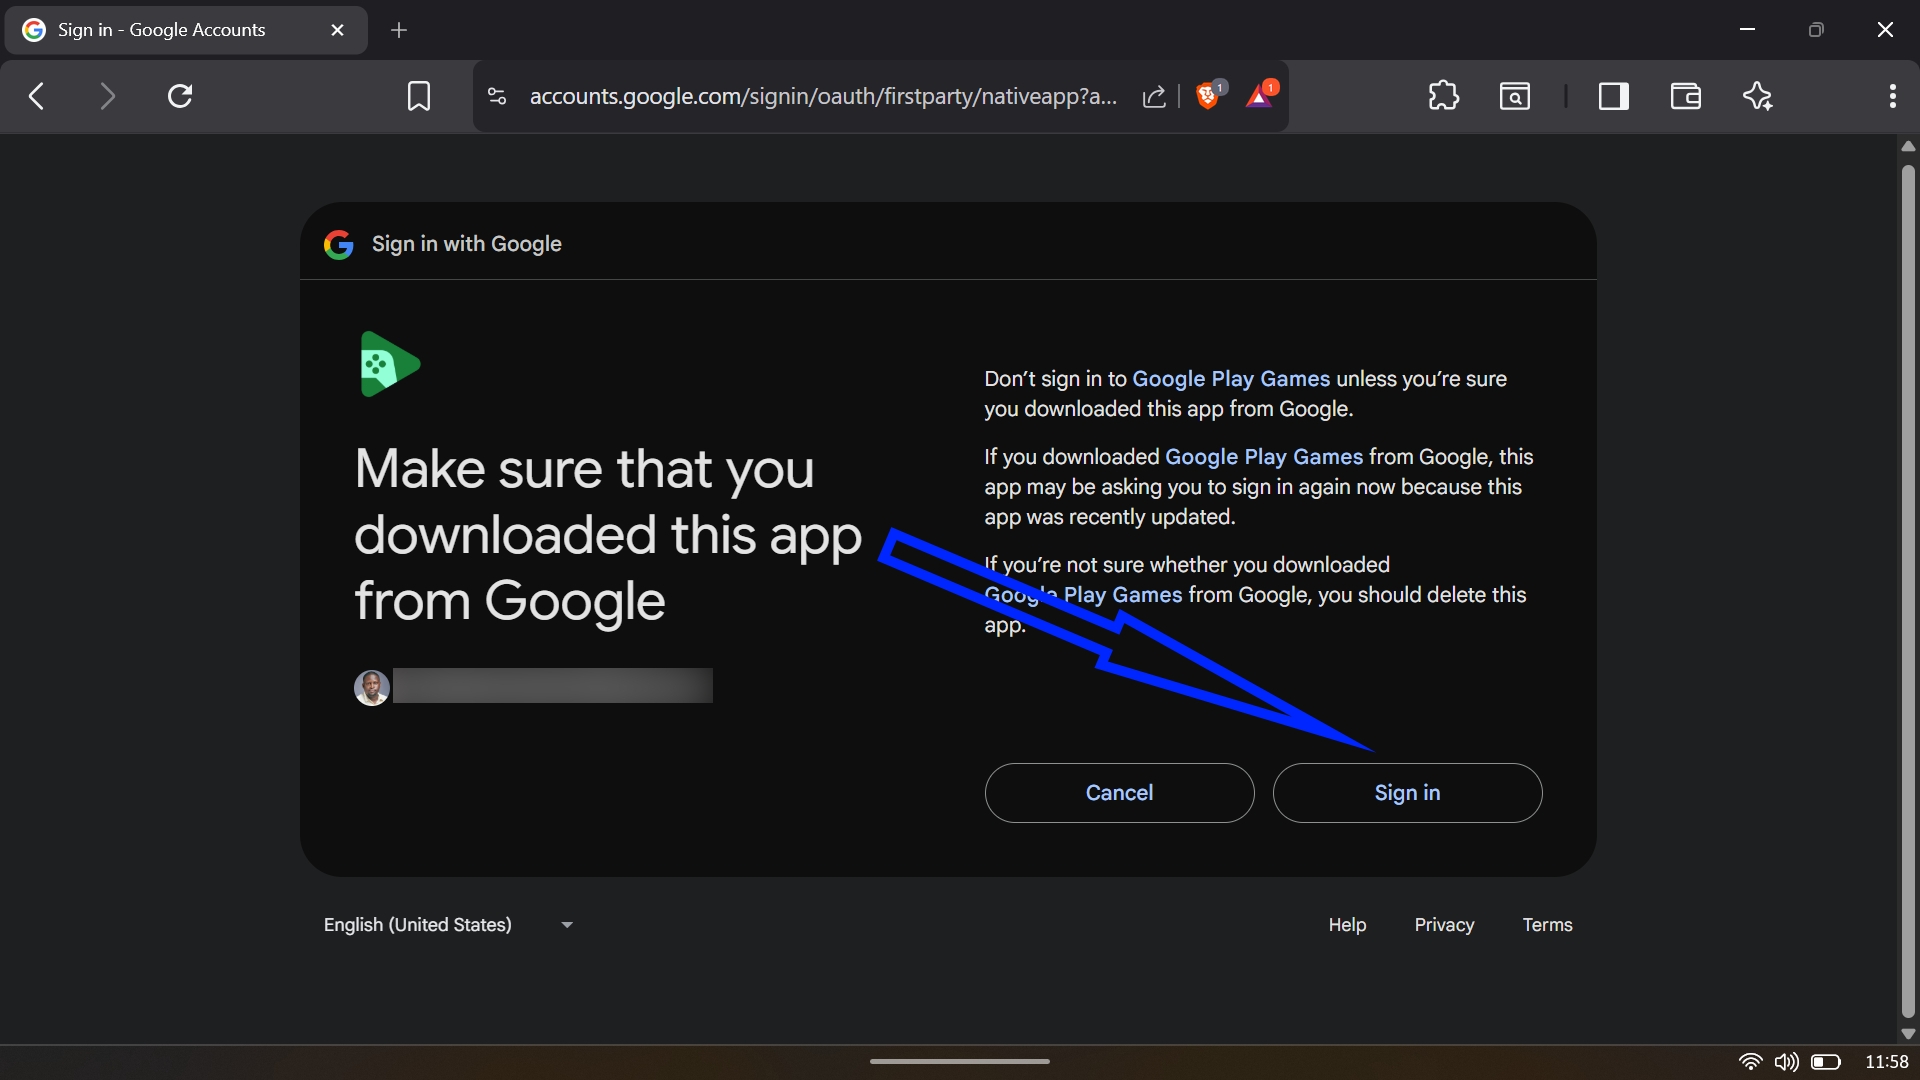
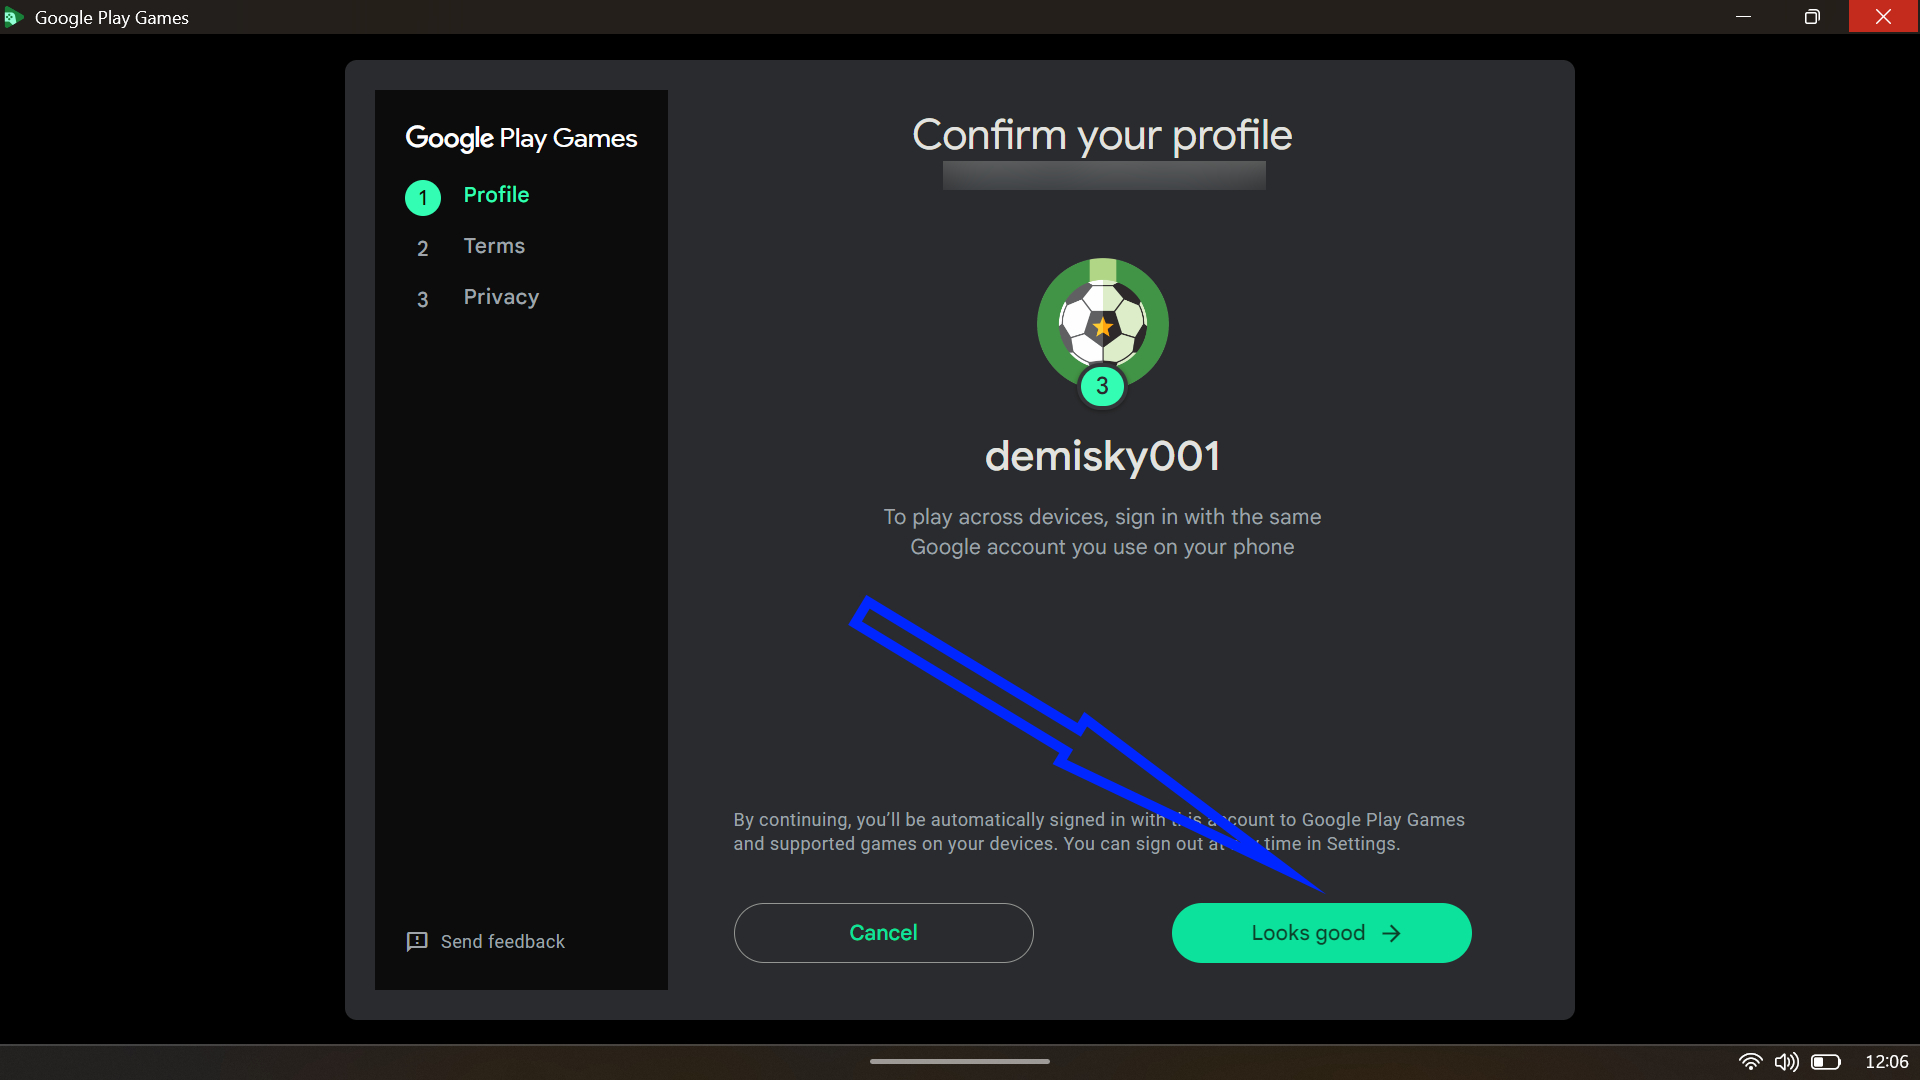
- Open the executable file, follow the installation instructions, and sign in with your Google account to automatically configure your gamer profile.
- Browse the curated catalog of PC-optimized games.
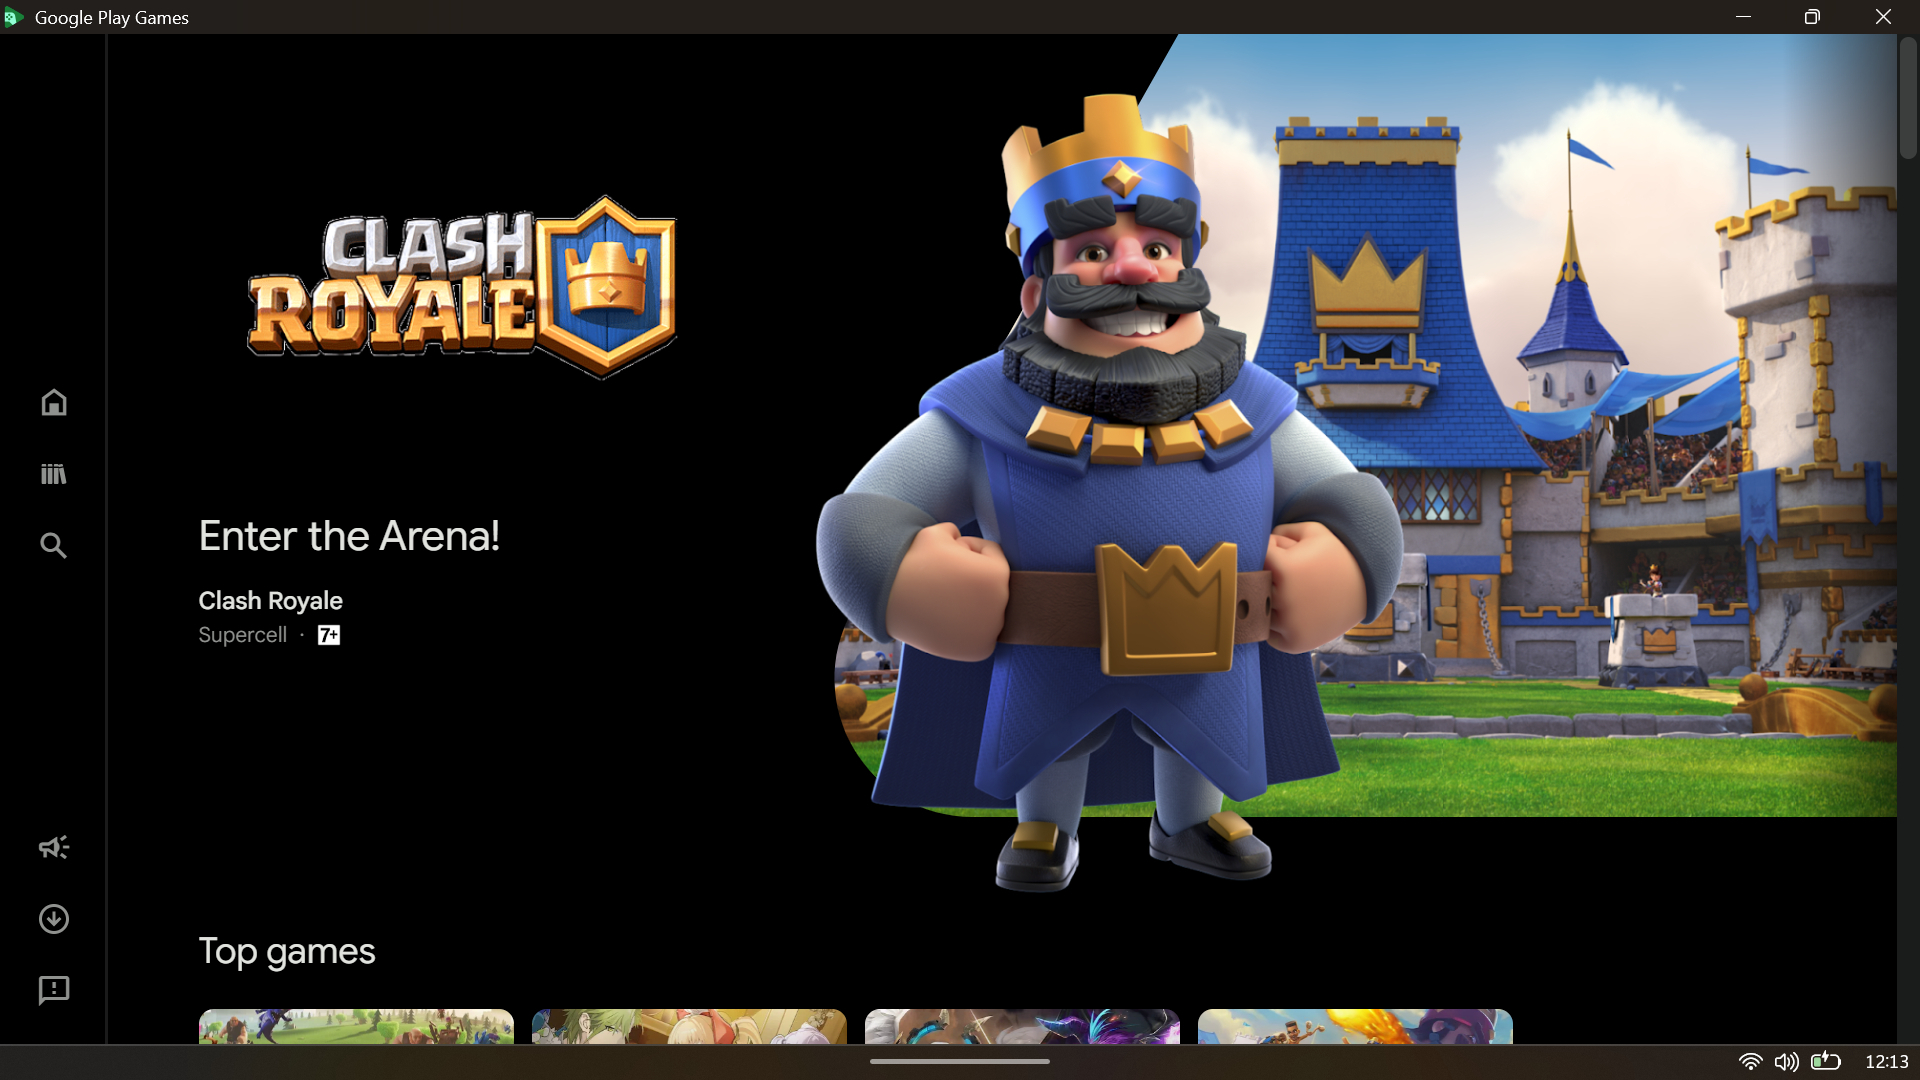

- Once you are in, there is plenty to tweak. You can map keyboard controls, use a controller, and adjust graphics settings to suit your hardware.
Recent updates added a handy sidebar you can pull up with Shift + Tab, per-game refresh rate controls, and support for both Xbox and PlayStation controllers. One of the nicest touches is how well it syncs progress. You can start a game on your phone during a lunch break and pick up from the exact same spot on your PC later that night.
Essential Requirements to Run Android Apps on Windows
Hardware virtualization is the foundation for running Android apps through emulators. Most modern CPUs support this (Intel VT-x or AMD-V), but manufacturers often disable it by default for security and compatibility reasons.
Step 1: Check if Virtualization is Already Enabled
Before entering BIOS, verify your current status:
- Press Ctrl + Shift + Esc to open Task Manager.
- Navigate to the Performance tab.
- Select CPU from the left panel.
- Look at the bottom right corner under “Virtualization”—if it says “Enabled,” you’re already set.
Step 2: Access BIOS/UEFI Settings
If virtualization is disabled, you’ll need to enable it in your system’s firmware. The access method varies by manufacturer:
Via Windows Settings (Recommended for Windows 11):
- Press Windows + I to open Settings.
- Go to System > Recovery.
- Beside “Advanced startup,” click Restart now.
- Your PC will reboot to the Windows Recovery Environment.
- Select Troubleshoot > Advanced options > UEFI Firmware Settings.
- Click Restart.
Step 3: Enable Virtualization
Once inside BIOS/UEFI, the virtualization option location varies by manufacturer. The feature might be called different names:
- Intel Virtualization Technology (Intel VT-x)
- AMD-V or SVM Mode (for AMD processors)
- Vanderpool Technology
- VT-d (for advanced features)
For ASUS motherboards:
- Press F7 to enter Advanced Mode (if in EZ Mode).
- Navigate to Advanced tab.
- Select CPU Configuration.
- Find Intel Virtualization Technology or SVM Mode.
- Change to Enabled.
- Press F10 to save and exit.
For Dell systems:
- Navigate to Virtualization Support > Virtualization.
- Enable Virtualization.
- Enable Virtualization for Direct-IO (VT-d) if available.
- Press F10 to save and exit.
For HP systems:
- Navigate to the Configuration or System Security tab.
- Find Virtualization Technology (VTx/VTd).
- Set to Enabled.
- Press F10 to save and confirm.
For Lenovo systems:
- Navigate to Security > Virtualization or Advanced > CPU Setup.
- Find Intel Virtualization Technology.
- Press Enter and select Enabled.
- Press F10 or navigate to Exit tab and save changes.
Important: If you cannot find the virtualization option, your CPU may not support it (rare for systems made after 2010), or you may need a BIOS update. Check your motherboard manufacturer’s website for updates.
How to Enable Hyper-V and Virtual Machine Platform
After enabling hardware virtualization in BIOS, you need to activate Windows’ virtualization features. These are required for most Android emulators to function properly.
Method 1: Using Windows Features (Easiest)
- Press Windows + R to open the Run dialog.
- Type appwiz.cpl and press Enter.
- Click Turn Windows features on or off in the left sidebar.
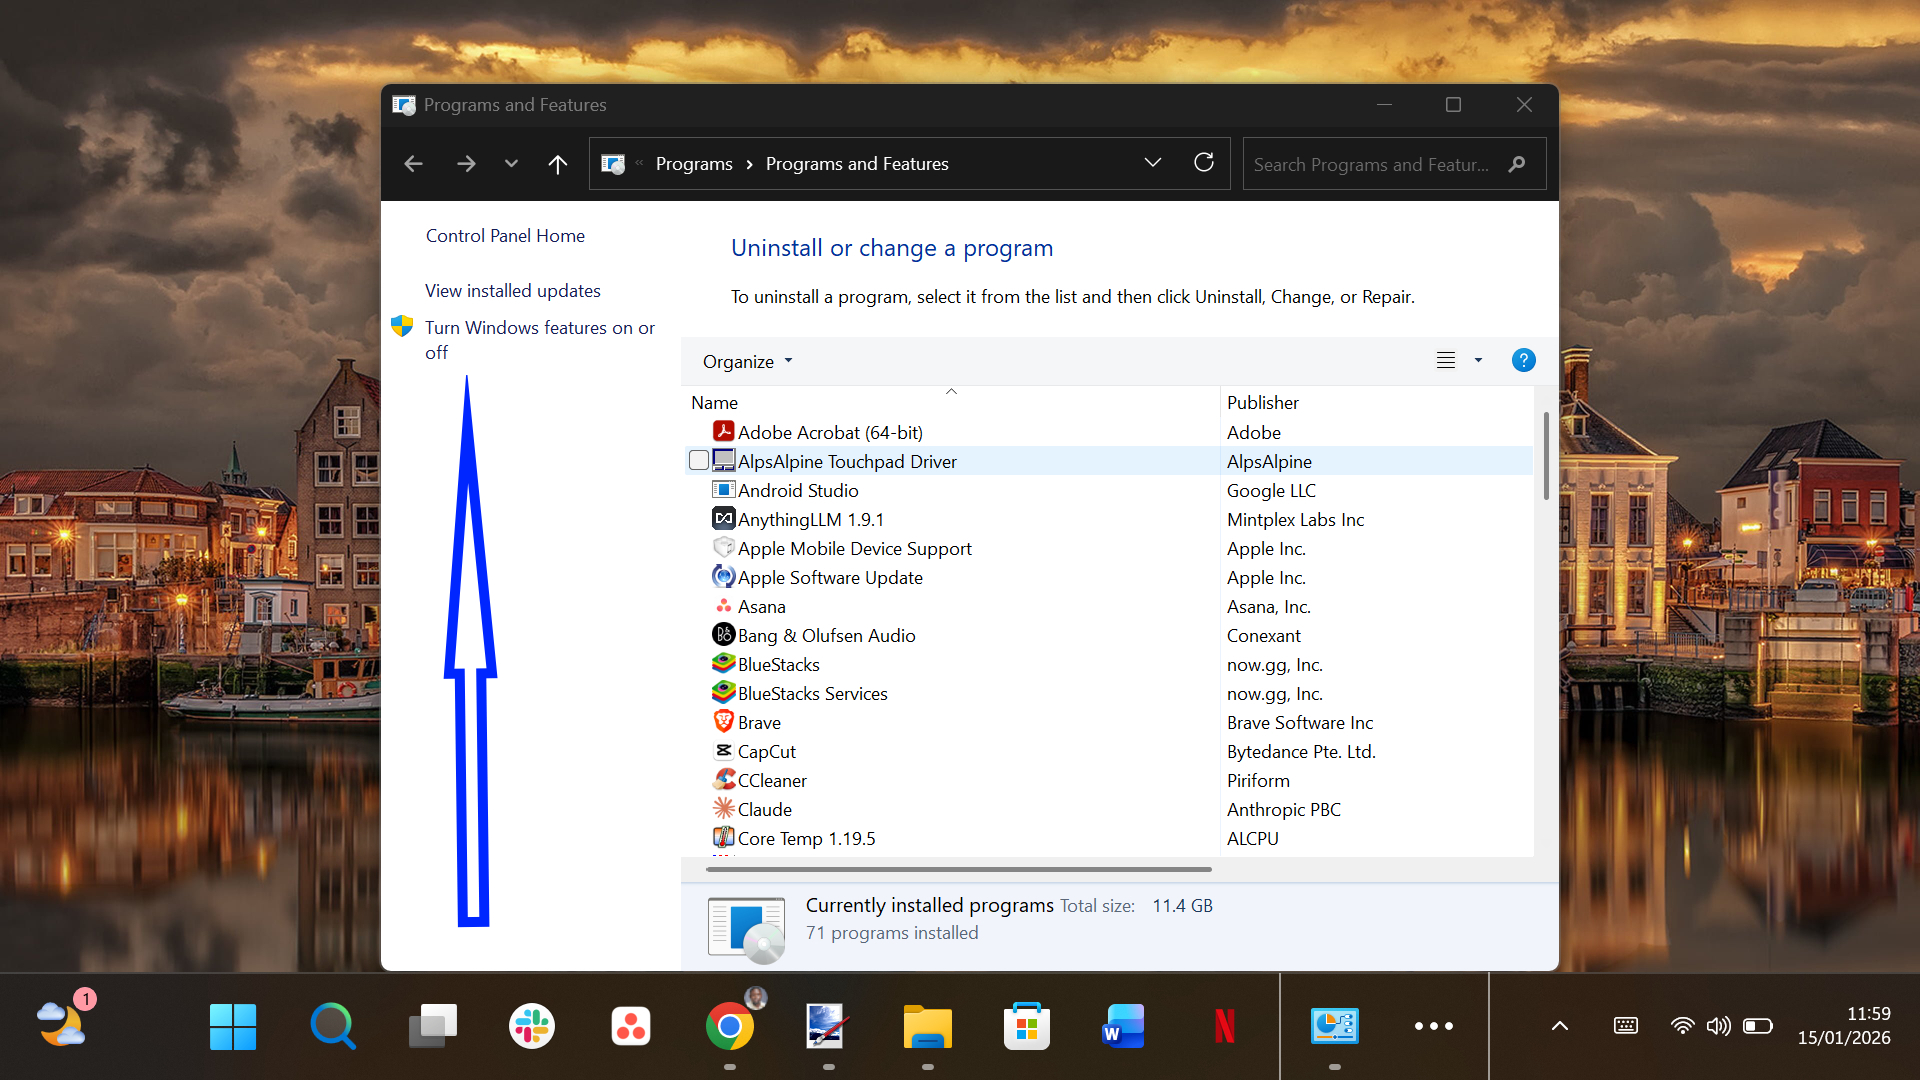
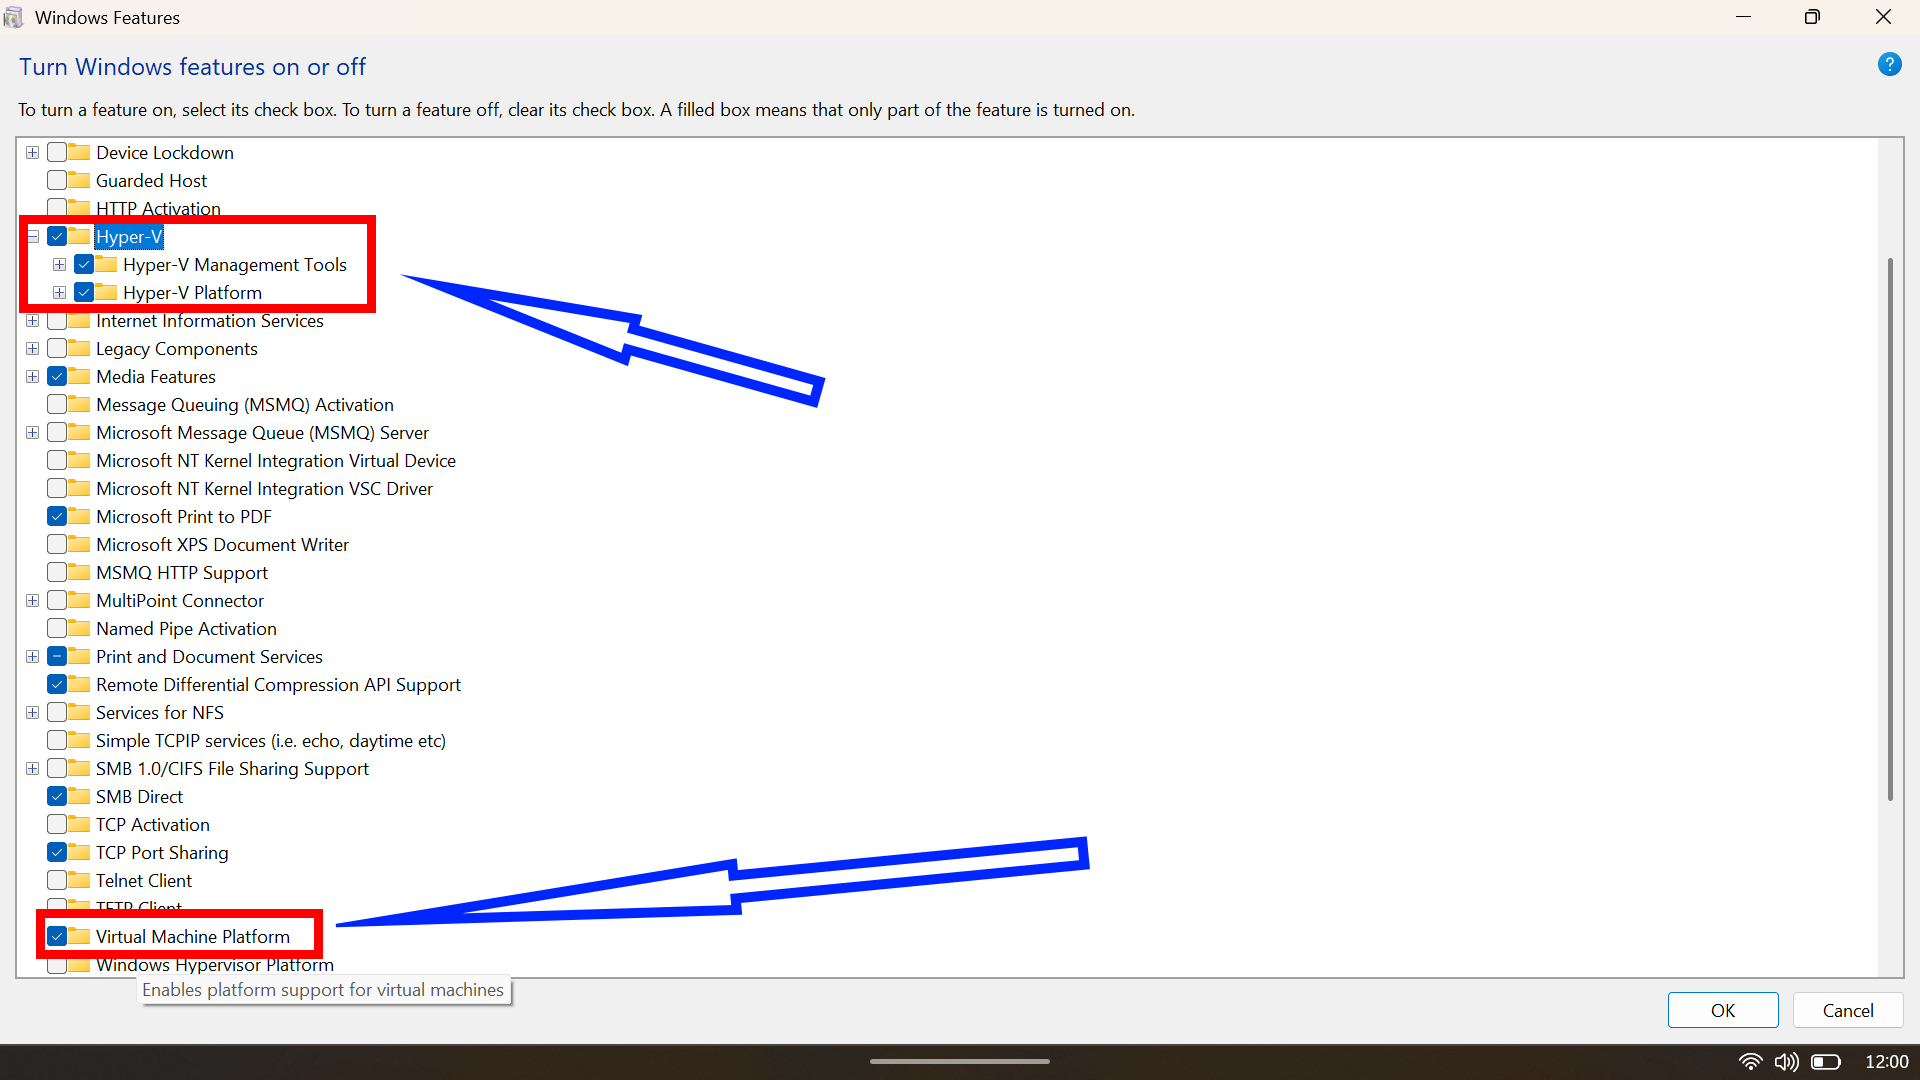
- Scroll down and check the box next to Virtual Machine Platform.
- If you’re on Windows 11 Pro, Enterprise, or Education, also check Hyper-V (expand it and ensure both Hyper-V Management Tools and Hyper-V Platform are selected).
- Click OK.
- Windows will install the features—this may take several minutes.
- Click Restart now when prompted.
Note for Windows 11 Home Users: Hyper-V is technically not available on Home editions, but you can install it using a batch script:
- Open Notepad.
- Paste the following script:
pushd "%~dp0"
dir /b %SystemRoot%\servicing\Packages*Hyper-V*.mum >hyper-v.txt
for /f %%i in ('findstr /i . hyper-v.txt 2^>nul') do dism /online /norestart /add-package:"%SystemRoot%\servicing\Packages\%%i"
del hyper-v.txt
Dism /online /enable-feature /featurename:Microsoft-Hyper-V -All /LimitAccess /ALL
pause
- Click File > Save As.
- Change “Save as type” to All Files.
- Name it Hyper-V.bat.
- Right-click the file and select Run as administrator.
- Restart when complete.
Verification: After restarting, open Task Manager, go to the Performance tab, select CPU, and confirm “Virtualization” shows as “Enabled.”
Conclusion
If you want the simplest setup, start with Phone Link and see if your phone supports app streaming. If not, decide whether you want all apps, more tinkering via an emulator, or just games, less drama via Google Play Games on PC.